How to use this move in inspection checklist
This move in inspection checklist lists the seven highest-value items tenants, landlords and property managers should document during the walkthrough. Work room by room, take dated photos, write clear descriptions, and obtain signatures from the parties present. Provincial tenancy guidance recommends completing a written condition report during the move-in walkthrough so both sides have the same record; see the provincial example for details and signing guidance.
Below are seven numbered items. Each item explains what to test, how to photograph or describe defects, who should sign, and what changes your checklist might need for a condominium, house or multiunit building in the Greater Toronto Area.
1. Entry, doors and windows: document security and obvious damage first
Start at the main entry and work outward to every exterior door and window. These features affect safety, weatherproofing and access, and they are easy to confirm during a quick walkthrough.
What to check
- Locks: note deadbolt and latch condition, key count, and whether electronic codes or fobs work.
- Glass and frames: photograph chips, cracks, broken seals, fogging between panes, warped frames and misaligned sills.
- Threshold and weatherstripping: look for gaps that admit drafts or water.
- Screens and hardware: report torn screens, missing screws, broken closers or sticking hinges.
Photo and description tips
Take a wide photo showing the full door or window, then a close-up of any defect with a ruler or coin for scale. In the description state the room and orientation (for example "south-facing living room window"), whether the issue affects security or weatherproofing, and the inspection date.
2. Walls, floors and ceilings: note stains, cracks and surface condition
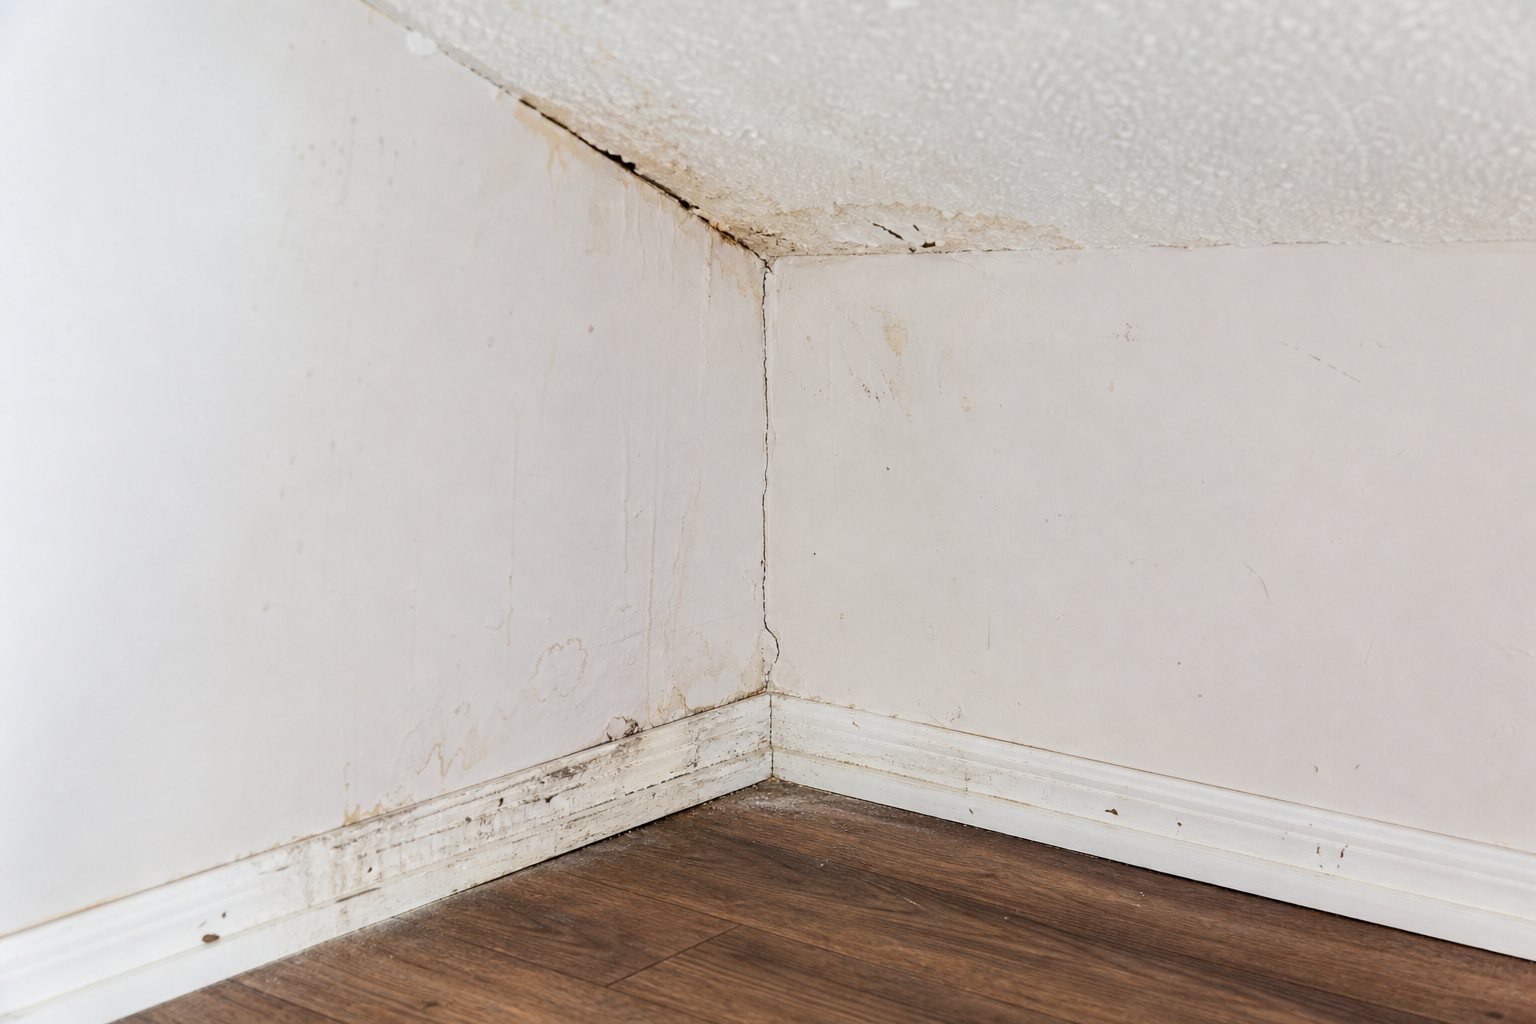
Document finishes thoroughly because paint marks, carpet stains and cracks are common move-out disputes. Record the material (paint, wallpaper, hardwood, vinyl) and list visible defects and approximate sizes.
What to check
- Stains and mould-like discoloration on ceilings and walls.
- Cracks: hairline versus wide; note precise location such as "above bedroom door" or "stairwell corner".
- Floor coverings: dents, gouges, lifting tiles, loose stair nosing or worn carpet in high-traffic areas.
How to describe defects
Use concise language: for example, "2 cm vertical crack above bedroom door frame, interior plaster, photographed on inspection date." That level of detail makes later comparison simple. If you suspect structural movement, note the observation but leave technical conclusions to a qualified inspector.
3. Plumbing and water systems: check for leaks, drainage and hot water
Water-related problems cause many costly disputes. Run every faucet, flush each toilet, and inspect visible supply lines and drain conditions.
What to test
- Hot water: confirm presence and note temperature if practical.
- Under-sink leaks: open cabinet doors and photograph pipe joints and p-traps.
- Drainage: check sinks, tubs and floor drains for slow flow or gurgling.
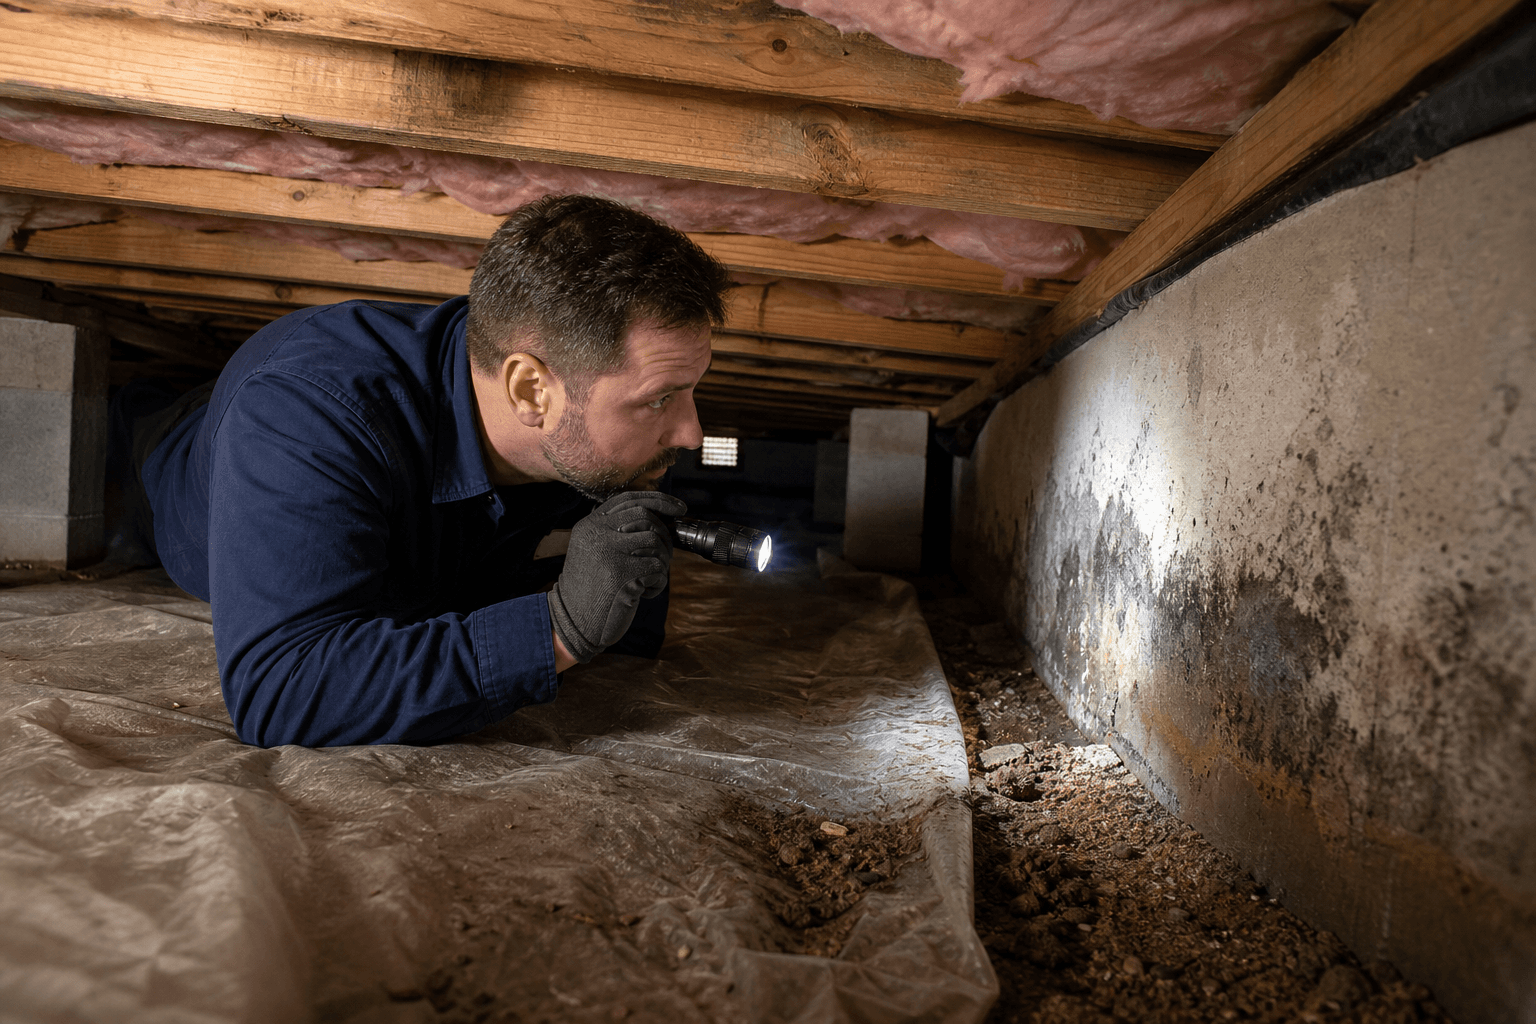
- Basement or crawlspace: inspect for visible water, dampness or efflorescence where safe and accessible.
Documentation advice
Take short videos of running water if drainage is slow and timestamped photos where stains or past leaks appear. Property-management guides recommend a room-by-room record and clear photos to protect deposits and simplify dispute resolution; see a practical template and photo tips from Canadian property resources for reference.
4. Electrical, heating and basic HVAC: test switches, outlets and heating
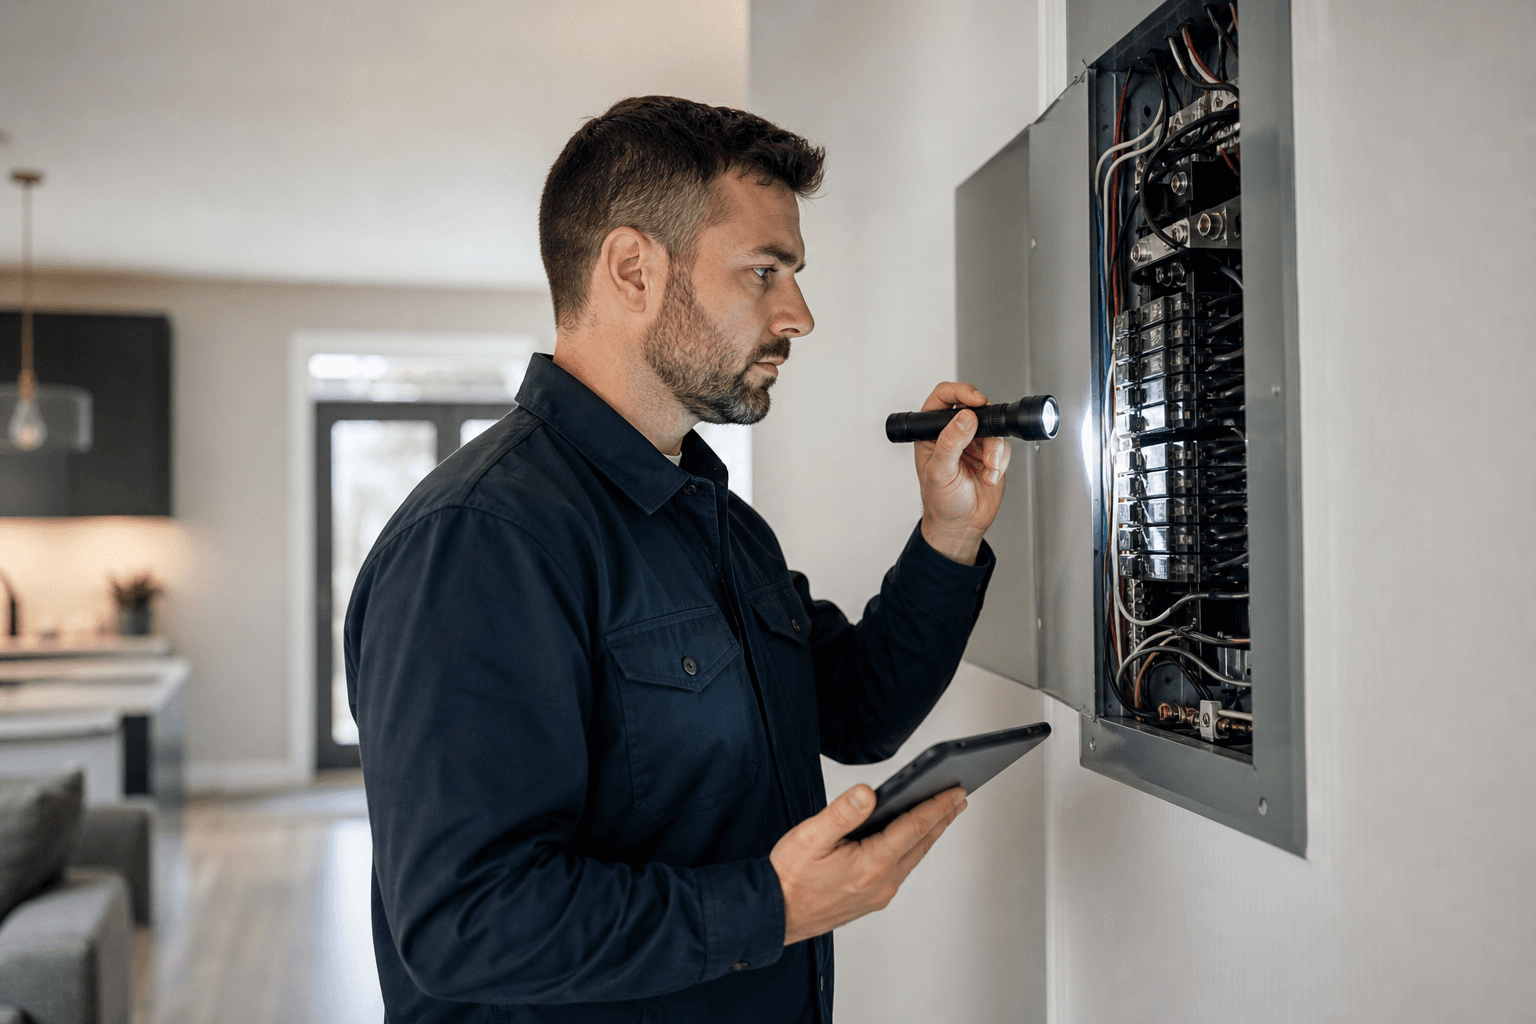
Operate every lighting circuit, test a sample of outlets, and check heating and cooling controls. Electrical and HVAC faults are safety issues and are commonly covered by tenancy or building rules.
What to check
- Lights and switches: confirm operation and note flicker, dimming or missing covers.
- Outlets: test a few with a phone charger or an outlet tester; label any that are dead or loose.
- Furnace and thermostat: verify the system powers on and the thermostat responds; record the thermostat model and setpoint used for testing.
- Air conditioning and ventilation: check included units and confirm exhaust fans in bathrooms operate.
When to call a professional
If you find exposed wiring, burning smells, malfunctioning panels or persistent HVAC failures, get a certified inspection. A certified residential or commercial inspector can create a standard report that is useful in transactions across the GTA; ASM lists InterNACHI and CCPIA credentials and same-day PDF reports to help with tight timelines. Learn more on the ASM website.
5. Kitchen and appliances: record working order and visible defects
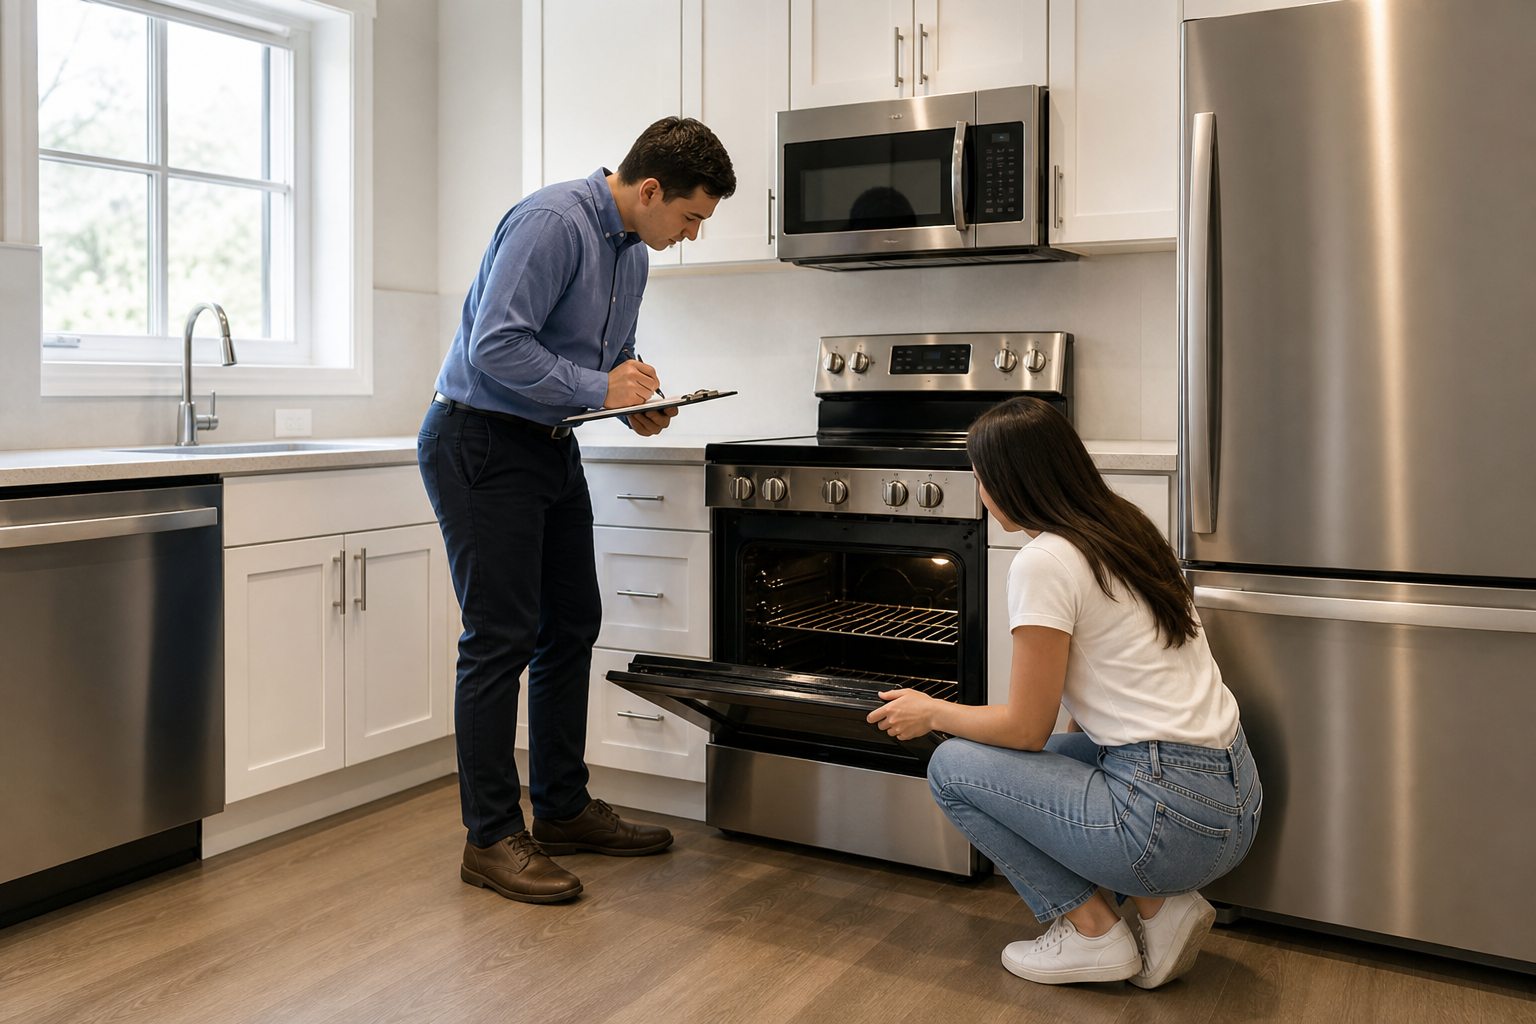
Kitchens are high-value areas for landlords and tenants. Run each included appliance through a basic operation test and photograph any cosmetic or functional defects.
What to test
- Refrigerator: door seal condition, interior light, and any rust or dents.
- Stove and oven: confirm burners ignite and the oven reaches a set temperature if practical.
- Dishwasher: run a short cycle to verify fill, drain, and that no leaks appear.
- Counters and cabinets: photograph edge damage, missing hardware and hinge problems.
Describing appliance issues
Note make and model when visible, and describe the symptom rather than a diagnosis. For example, write "left rear burner fails to ignite, sparking noise observed" rather than "stove broken." If any items are tenant-provided, record that status separately.
6. Bathroom and ventilation: look for moisture risk and exhaust function
Bathrooms are common sources of moisture intrusion and mould. Inspect grout, caulking, fans and fixtures carefully because early documentation reduces later disputes about mould or water damage.
What to inspect
- Grout and caulk: photograph missing or cracked caulking around tubs, showers and wall junctions.
- Exhaust fans: confirm operation and note whether they vent to the exterior.
- Fixtures: test taps for drips, and flush toilets to check for running or weak flush.
- Visible mould or staining: photograph close-ups and wide shots with location labels.
Moisture documentation and next steps
Document suspected moisture issues with photos and measurements of stained areas. Property-management guides and tenant resources recommend thorough photographic records and clear notes to support deposit protection and future remediation discussions.
7. Exterior, balcony and final documentation: photos, signatures and when to call an inspector
Finish with exterior features: balcony railings, downspouts, exterior lights, walkways and visible roof edges from ground level. Conclude the walkthrough by assembling a signed, photo-backed move-in condition report.
What to include in the final report
- Room-by-room list of defects with photos and short descriptions, dated and labelled by location.
- Signatures: have the tenant and landlord or property manager sign and date the document at the end of the walkthrough. Official tenancy guidance recommends both parties complete and sign the condition report together so disagreements can be noted immediately; see the provincial example for signing guidance.
- Delivery and storage: provide copies to all parties and keep the original PDF or scanned report in a secure location. Use filenames with the address and date for easy retrieval.
When to hire a certified inspector
A DIY checklist is usually enough for routine move-ins, but hire a certified inspector when you need an objective, technical evaluation for higher-risk concerns: suspected structural movement, recurring water entry, extensive mould, or when the property is commercial. A certified report from an InterNACHI or CCPIA inspector can be used in negotiations or insurance discussions; ASM offers dual certification and same-day PDF report delivery for clients in the GTA.
Frequently asked questions
Who should sign the move in inspection checklist and when should it be completed?
The checklist should be completed at the start of the tenancy during the move-in walkthrough with both the tenant and the landlord or their representative present. Both parties should sign and date the report; if one party disagrees with an entry, note the disagreement on the form and attach photos. See the provincial move-in condition guidance for standard procedures.
How many photos should I take and what should each photo show?
Take at least two photos per significant item: one wide shot to show location context and one close-up showing the defect with a scale object. For water stains, take an additional close-up of texture or edges. Timestamped photos or short videos of running fixtures are useful for drainage or appliance issues.
How long should tenants and landlords keep move in inspection records in Ontario?
There is no single provincial retention period cited here, but keeping move-in and move-out records, photos and signed reports for several years is practical for deposit disputes or warranty claims. Store electronic copies in a secure cloud folder and keep a PDF with the address and date in the filename for easy retrieval.
Can a professional home inspector perform a move in inspection and when is that worth the cost?
Yes. A professional inspector provides an objective, system-level report and can flag issues a non-technical reviewer may miss. Hire a certified inspector when you suspect hidden defects, have a complex HVAC or plumbing system, manage multiple units, or need a formal report for legal or insurance purposes. ASM provides certified residential and commercial inspections and same-day PDF reports for GTA clients.
What can I do if the landlord and tenant disagree about an item on the inspection report?
Record the disagreement on the report, attach photos, and keep copies. Many disputes are resolved by mediation or small claims processes if they cannot be settled informally. For jurisdictional rules and dispute forms consult official tenancy resources and consider professional inspection evidence for technical disputes.
Key takeaway: follow a consistent room-by-room routine, prioritise clear photos with context, get signatures during the walkthrough, and retain dated PDFs. For technical concerns or transaction support, consider hiring a certified inspector.
Further reading and templates: see the provincial move-in condition guidance, a Canadian move-in checklist template, and photo tips from property management resources: Complete a move-in condition inspection report, PropFix move-in inspection checklist, Propilot move-in checklist, and TenantCircle move-in checklist.
Need a certified inspection in the GTA? Book a same-day PDF report with Asmhomeinspection to document issues and support negotiations.