Why attic ventilation matters for your roof, energy bills, and indoor air
Attic ventilation works by combining controlled intake (usually through soffits or eaves) with exhaust (ridge vents, roof vents, or mechanical vents) so air circulates through the attic instead of stagnating. That balance helps limit extreme attic heat in summer and moves moisture‑laden air out of the attic year‑round. ENERGY STAR explains why balanced intake and exhaust are part of a whole‑house approach to insulation and air sealing and how ventilation affects moisture and energy performance (ENERGY STAR: About Attic Ventilation).
When airflow is poor, heat and moisture can concentrate in the roof space. Authoritative homeowner guides note associations between inadequate ventilation and risks such as mold, shortened shingle life, higher cooling costs, and winter ice dams when warm attic air melts rooftop snow that refreezes at the eaves (BobVila, This Old House).
How to spot poor attic ventilation: a visual and performance checklist
Use this concise checklist to self-screen and document issues before any DIY work or a professional visit. Cross-reference problem types with the linked sources for more background.
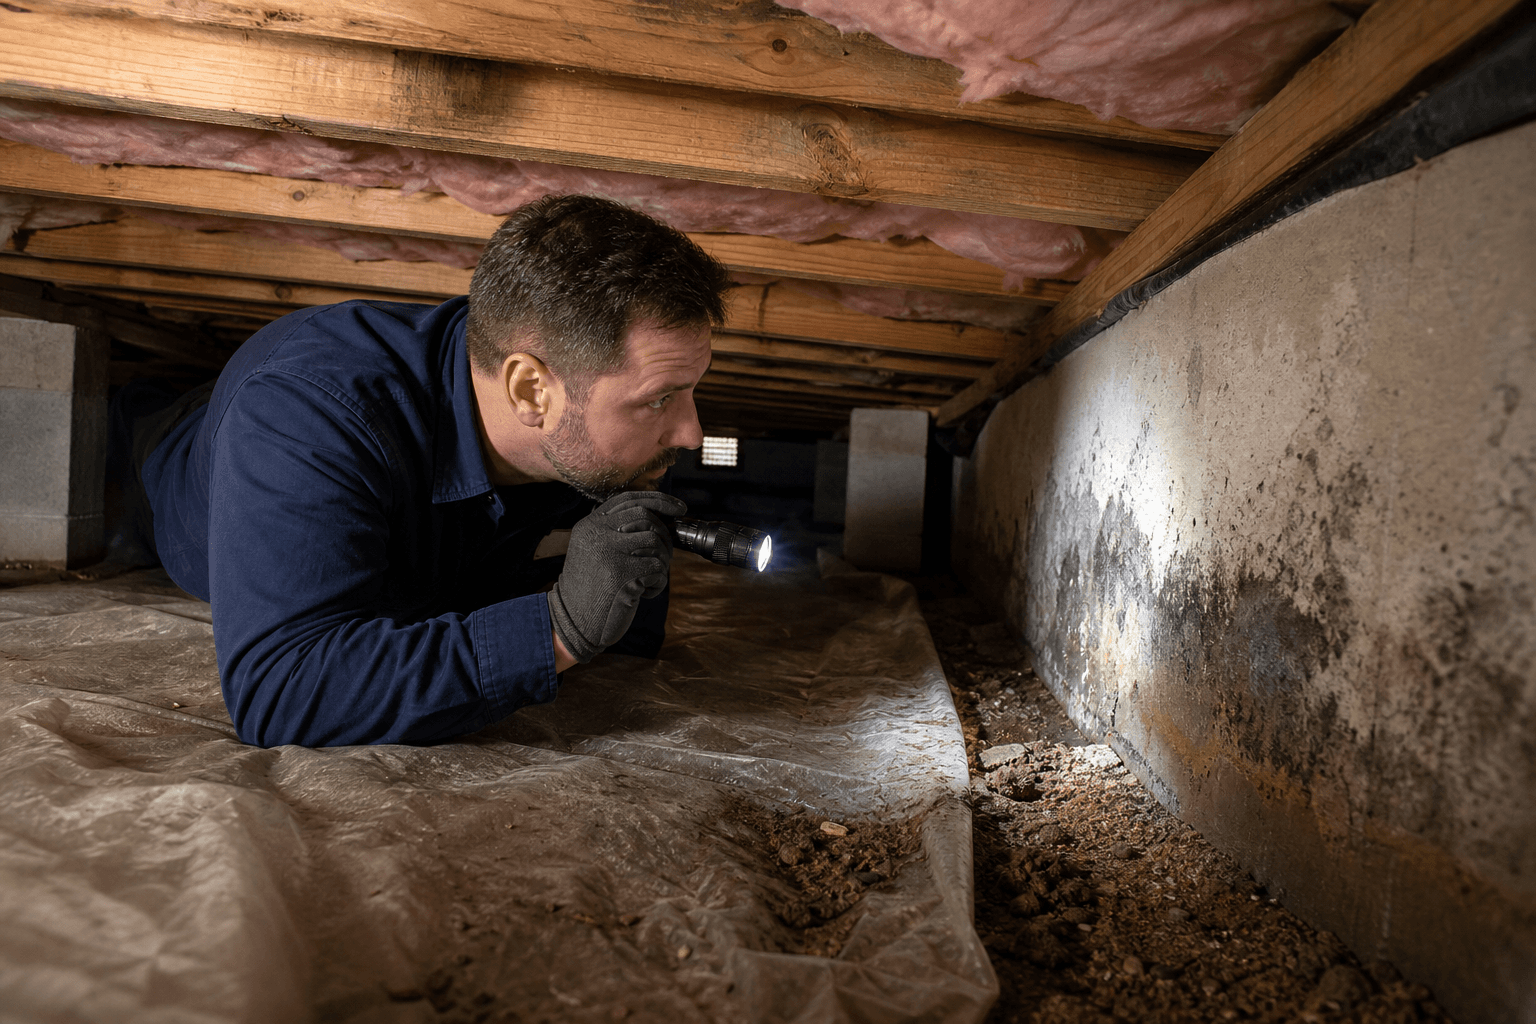
- Visible mold, mildew, or dark staining on rafters, sheathing, or insulation — signs moist air is condensing in the attic (BobVila).
- Frequent or recurring ice dams at the eaves during late winter — warm attic air may be melting snow higher on the roof that refreezes at the eaves (The Spruce).
- Very high attic temperatures in summer or warm upstairs rooms that indicate heat transfer from the attic.
- Musty smells in living spaces, moisture stains on ceilings, or premature shingle breakdown.
- Blocked soffit vents or insulation pushed into eave cavities, which can stop intake airflow.
Record the location and take date‑stamped photos of each finding. Note whether the condition is seasonal (after heavy snow, in summer heat, or after plumbing/roof work) so you and any inspector can correlate causes with timing.
DIY diagnostic steps: a safe smoke test and attic walkthrough

A smoke test is a simple way to confirm whether intake vents at the eaves are drawing air in and whether roof or ridge vents are exhausting air out as intended. Angi provides homeowner guidance on using non‑toxic smoke sources to observe flow direction (Angi: How to Do a Smoke Test).
Follow this safe, step‑by‑step checklist you can copy and use at home. Have a partner if possible and stop at any sign of hazards (gas smell, heavy mold, unstable footing).
- Pick a calm day and plan your route. Close windows and turn off attic fans or bathroom/kitchen exhaust that could alter normal attic flow. Wear a dust mask (N95 or similar), gloves, long sleeves, and eye protection.
- Access the attic safely. Use a stable ladder, keep to joists or installed flooring, and avoid stepping on unsupported drywall ceilings.
- Prepare recording tools: smartphone for photos, a notepad to mark locations, and a flashlight. Note outside conditions (temperature, wind) and time of day.
- Locate likely intake and exhaust points from inside the attic: soffit/eave openings for intake and ridge vents, roof vents, or turbines for exhaust.
- Use a smoke stick, smoke pencil, or a stick of incense (avoid open flames). Produce a thin line of smoke near a soffit vent and watch whether smoke is drawn inward into the soffit cavity.
- Repeat near roof/ridge vents and observe whether smoke is pushed outward. Proper airflow: smoke is drawn in at soffits and exits at ridge/roof vents. Record findings: intake working (yes/no), exhaust working (yes/no), areas where smoke stalls, and take photos or video.
- If smoke hangs, flows unpredictably, or you detect strong backdrafts into living spaces, stop the test and prioritize a professional evaluation.
- After testing, seal the attic hatch, store photos with notes, and use the information to decide whether to try safe fixes (clear soffit blockages, add baffles) or to call a certified inspector.
Safety note: do not use smoke tests if you detect a gas odor or if insulation disturbance could release asbestos in older homes. In those cases, cease testing and call a qualified professional.
Common vent types, how intake and exhaust work, and simple fixes to consider
Understanding the main vent types helps you describe problems and potential fixes to a tradesperson or inspector. This Old House and Family Handyman offer practical comparisons and installation notes (This Old House, Family Handyman).
- Soffit vents (intake): sit under eaves and admit cool outside air. They must remain clear of insulation; baffles can help keep airflow paths open.
- Ridge vents and continuous peak vents (exhaust): run along the roof ridge and provide passive, even exhaust when paired with proper intake.
- Roof/box vents and turbine vents (point exhaust): installed in fixed locations; turbines can boost passive exhaust in some conditions but work best when intake is adequate.
Typical modest fixes you or a contractor might perform: clear blocked soffit vents, install or reposition baffles to keep insulation away from openings, add soffit intake to match existing ridge exhaust, or install a continuous ridge vent if the roof lacks peak exhaust. Avoid adding exhaust vents without matching intake, as that can draw conditioned air from living spaces and create negative pressure problems.
Frequently asked questions
Can poor attic ventilation cause mold or ice dams in winter?
Yes. Poor ventilation allows moist air to collect and condense on cold attic surfaces, encouraging mold growth. In winter, warm attic air can melt rooftop snow that refreezes at the eaves, causing ice dams. These relationships are described in homeowner resources and are common triggers for inspections (BobVila, The Spruce).
How do I perform a smoke test safely and what should I expect to see?
Perform the smoke test on a calm day using a smoke pencil or incense and follow the step‑by‑step checklist above. Expect intake at soffits to pull smoke inward and ridge/roof vents to push it outward. If smoke stalls, flows into living spaces, or you encounter hazards, stop and consult a professional (Angi).
How often should I inspect attic ventilation and do seasonal checks differ in the GTA?
A spring-and-fall inspection is a practical seasonal baseline. Spring checks can look for winter moisture, ice-dam damage, and pest entry; a fall or pre-winter review can confirm clear soffits, intact baffles, and balanced exhaust before sustained cold weather. Use conditions at the property rather than a fixed GTA calendar window, and inspect sooner after heavy weather or roof work (Family Handyman, BobVila).
What will a certified home inspector check in the attic and when is a professional inspection necessary?
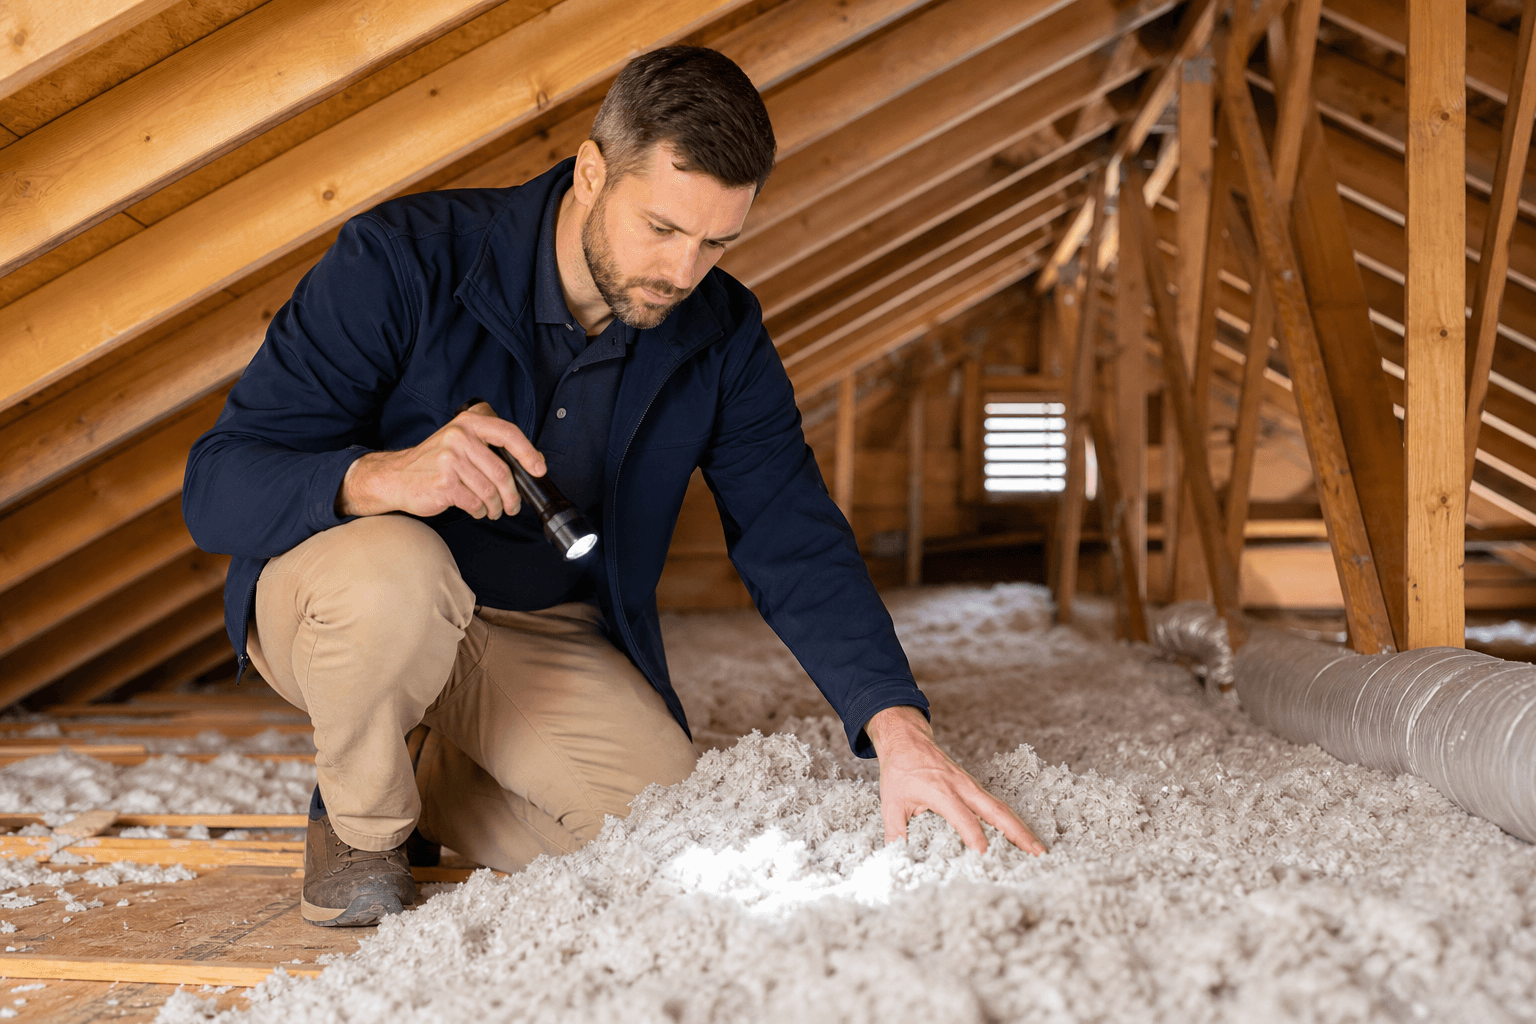
An inspector will evaluate insulation depth and placement, visible mold or water stains, vent and baffle condition, signs of roof leaks at decking or rafters, and whether intake/exhaust appear balanced. Hire a certified inspector for active leaks, visible mold, repeated ice dams, a failed smoke test, or when you need an objective report for a real‑estate transaction.
When to get a certified inspection (and what a pro will provide)

Schedule a certified attic inspection if you find active water entry, visible mold, structural staining, repeated ice dams, or if a DIY smoke test shows no clear intake/exhaust flow. A professional inspection documents findings, clarifies likely causes (venting imbalance, air leaks, insulation issues), and recommends next steps—venting modifications, air sealing, insulation adjustments, or contractor referrals.
Before the inspection, assemble: date‑stamped photos, notes about when issues occur, any DIY smoke‑test results, and the checklist you used. That information helps the inspector prioritize areas to open up and document. Professional reports are especially useful for negotiating repairs in real‑estate transactions or for insurance discussions.