Whether you are a tenant documenting the condition of a rental or an owner moving into a newly purchased home, a thorough move-in inspection checklist is the simplest way to protect your deposit, set maintenance priorities, and prevent disagreements later. This walkthrough focuses on practical steps you can complete in a single session, with clear documentation habits that make your notes easy to understand months or years from now.
How to use this checklist
Plan to complete the inspection before you unpack. Work in daylight when possible, and turn on every light. Move methodically: exterior to interior, top to bottom, left to right in each room. For every item below, do three things:
- Look: Observe condition, operation, and cleanliness.
- Test: Open/close, turn on/off, flush/run, and operate safety features.
- Document: Note issues in writing and capture photos or short videos.
Use consistent photo angles, include wide shots and close-ups, and add a reference object (like a coin or tape measure) near damage to show size. Save your files in named folders by room and date. If you are renting, keep a copy for yourself and share a copy per your lease instructions.
Pre-inspection prep
- Tools: flashlight, phone/camera with video, notepad or digital notes, sticky tape/labels, paper towels, small level, zip-top bags (to store loose screws or hardware you find).
- Documents: lease/purchase agreement, keys/fobs list, appliance manuals if provided, any move-in forms.
- Environment: water, gas, and power should be on so you can test plumbing, electrical, and HVAC.
Exterior and entry
- Address/identifiers: Confirm unit numbers, mailbox, and doorbells match your lease or deed.
- Walkways and steps: Check for tripping hazards, loose handrails, cracked pavers.
- Exterior doors: Inspect weatherstripping, thresholds, sweeps; verify deadbolt and latch alignment. Test all keys and any fobs or codes.
- Door condition: Dents, warping, paint condition; photograph any previous damage.
- Exterior lighting: Operate fixtures, note missing bulbs or broken lenses.
- Grounds and drainage: Look for soil mounding, negative slope toward the home, downspouts that discharge too close to the foundation.
- Garage/carport: Test door openers, auto-reverse safety, manual release; check for water staining on slab.
- Balconies/decks: Check railings for rigidity, decking for rot or soft spots, and flashing where the deck meets the wall.
Entry and common areas
- Floors: Note scratches, gaps, loose tiles, stains; walk the room to feel for soft or spongy areas.
- Walls and ceilings: Look for nail holes, cracks, patchwork, stains, and any discoloration that could indicate past moisture.
- Doors and trim: Open/close each door; check alignment, stops, and hardware. Document chips or swelling.
- Windows: Open fully, test locks, confirm screens are present and intact; note condensation between panes.
- Electrical: Test every light switch and receptacle (use a small plug-in device like a phone charger). Note loose cover plates or missing GFCI buttons where required near water sources.
- Heating/cooling outlets: Verify airflow at vents and that supply registers and returns are unobstructed and intact.
- Smoke and carbon monoxide alarms: Test using the test button; note date codes if visible.
Kitchen
- Sinks and plumbing: Run hot and cold water; check faucet function, spray hose, drain speed, and look under the sink for leaks or moisture marks. Operate the shutoff valves if accessible.
- Countertops and backsplashes: Note chips, open seams, missing caulk, or gaps where water could intrude.
- Cabinets and drawers: Open every door and drawer; look for loose hinges, water stains, or signs of pests. Verify any child locks function if present.
- Appliances:
- Refrigerator: Power on, cooling, light, door gaskets, icemaker/water lines if present.
- Range/oven: Test each burner and oven bake/broil; check anti-tip bracket presence.
- Range hood/microwave: Fan speeds, light, and exterior venting if applicable.
- Dishwasher: Run a short cycle; check for leaks at the door and under the sink.
- GFCI protection: Test outlets near the countertop using the test/reset buttons.
- Floor and thresholds: Note wear, loose tiles, or transition strips that pose tripping hazards.
Bathrooms
- Ventilation: Confirm the fan exhausts air; hold tissue at the grille to see it draw in.
- Toilets: Flush multiple times; check for wobble, leaks at the base or supply line, and slow fill.
- Sinks and tubs/showers: Run water; check hot/cold mix, diverter function, drain speed, and caulking/grout integrity.
- Tile and surrounds: Look for cracked tiles, missing grout, soft spots in walls near wet areas.
- GFCI outlets: Test and note any that fail to trip or reset.
- Storage and mirrors: Inspect for corrosion, loose shelves, or unsecure mirrors.
- Waterproofing details: Look for gaps around fixtures that could admit water.
Bedrooms and living spaces
- Doors/closets: Track sliding doors, check bi-folds, confirm closet lights and rods are secure.
- Windows: Verify egress-sized window operation in sleeping rooms if applicable; test locks and screens.
- Outlets and data ports: Test power and note any loose or paint-sealed receptacles.
- Heating/cooling: Confirm airflow at vents and thermostats are responsive.
- Flooring and baseboards: Document stains, pet damage, or gaps; look behind curtains and furniture nooks.
Laundry and utility
- Washer connections: Inspect hot/cold valves, hoses, and drain standpipe; look for kinks or corrosion.
- Dryer: Test power and heat; verify lint screen; if vented, check for secure, non-crushed ducting and outdoor flap operation.
- Water heater: Note age/manufacturer label if visible, signs of leaks, corrosion on valves, and presence of a drain pan if located on a finished level.
- HVAC equipment: Listen for abnormal noise at startup; check filter size and condition; verify condensate drain is clear.
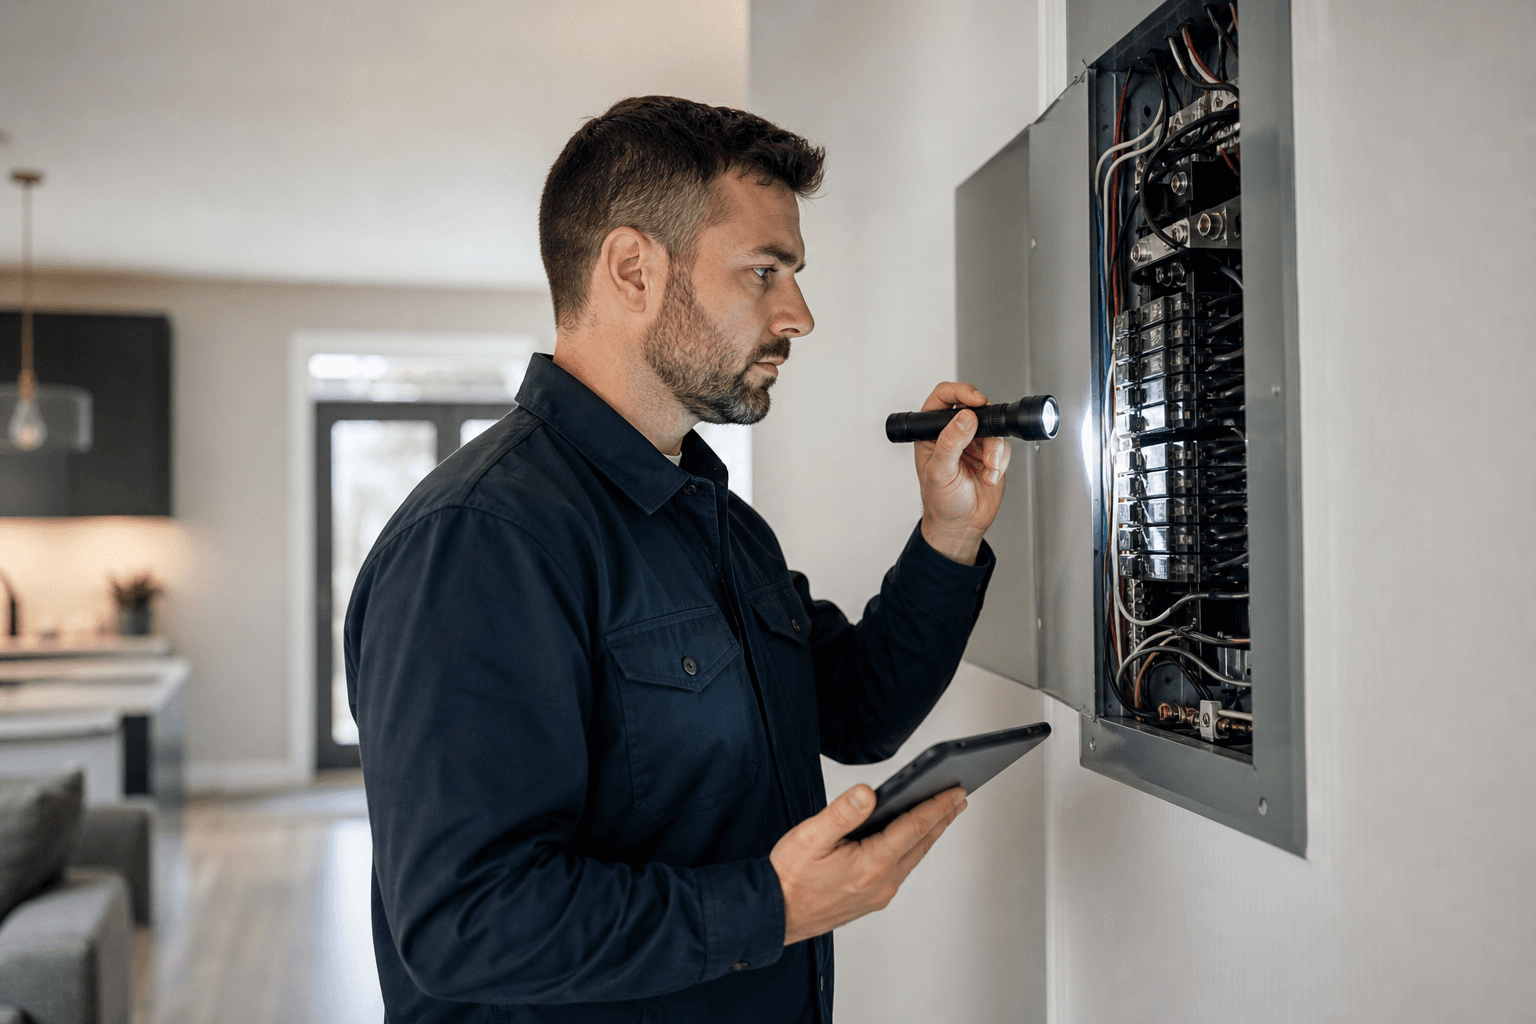
- Electrical panel: Label clarity, missing knockouts, warm breakers; do not open if you are untrained.
Windows, doors, and security
- Locks: Confirm all exterior locks function and keys are provided; test interior privacy locks.
- Seals and weatherstripping: Inspect for drafts, torn seals, and daylight at door jambs.
- Glazing: Look for cracked glass, failed seals between double panes, or fogging.
- Security basics: Test door viewers, intercoms, and any alarm keypads if present and authorized for use.
Water intrusion and pests
- Basement/crawl/attic (if accessible): Look for staining, efflorescence on masonry, musty odors, or visible mold-like growth. Use caution and proper lighting.
- Around plumbing: Check beneath sinks, behind toilets, and at tub surrounds for soft materials or staining.
- Windowsills and door thresholds: Inspect for swelling, rot, or peeling paint that suggests moisture.
- Pest indicators: Note droppings, insect wings, chew marks, or small entry holes; photograph and log locations.
Appliances and fixtures inventory
List every appliance and fixture you receive with the home, including make/model/serial numbers when accessible. Photograph each item powered on. Typical items:
- Refrigerator, range/oven, dishwasher, microwave
- Washer and dryer
- Garbage disposal and range hood
- Ceiling fans and light fixtures
- Window coverings and blinds
- Thermostats and smart home hubs (if included)
Utilities and meters
- Locate shutoffs: Main water shutoff, gas shutoff, and electrical main breaker. Ensure access is clear.
- Meter readings: Record move-in readings for electricity, gas, and water with timestamped photos.
- Test outlets and fixtures: Plug a small device into multiple outlets; flip exterior lights to verify dusk-to-dawn sensors if present by covering them briefly.
Documentation tips that hold up
- Include scale: Place a ruler or coin near chips and holes to communicate size.
- Video for moving parts: Record doors that rub, fans that wobble, or noisy appliances.
- Annotate: Add brief captions explaining what the photo shows and where it is.
- Back up: Store copies in the cloud and locally; share per your lease or closing documents.
What to do if you find issues
- Prioritize safety and active leaks first: Water, electrical hazards, gas odors, or missing alarms. If you encounter a potential safety hazard, take reasonable precautions and contact appropriate help promptly.
- Document before altering: Photograph and note issues prior to any cleaning or temporary fixes.
- Communicate in writing: Provide a dated list with photos to the responsible party (e.g., landlord, property manager, seller’s agent as appropriate). Keep records of correspondence.
- Be specific and neutral: Include location, description, and desired resolution (repair, replacement, or acknowledgment as pre-existing).
- Avoid unauthorized repairs: Unless your agreement permits it, do not perform work that could affect warranties or responsibilities.
- For legal, financial, or contractual questions: This article is general information, not legal or financial advice. Consult a qualified professional for guidance on your specific situation.
Room-by-room checklist
Use this condensed move-in inspection checklist as your in-hand reference while you walk the property:
- Exterior: grading, gutters/downspouts, steps/rails, exterior lighting, doors/locks, garage/drive, decks/balconies.
- Entry/common: floors, walls/ceilings, doors/trim, windows/screens, lights/outlets, alarms.
- Kitchen: faucet/drains, cabinets/drawers, countertops/backsplash, appliances, GFCIs, floor transitions.
- Bathrooms: ventilation, toilets, sinks/tubs/showers, caulk/grout, GFCIs, storage/mirrors.
- Bedrooms/living: doors/closets, windows/locks, outlets, vents/thermostats, flooring/baseboards.
- Laundry/utility: washer valves/hoses, dryer vent, water heater area, HVAC filter/drain, electrical panel (visual checks only).
- Moisture/pests: basements/attics, under sinks, sills/thresholds, pest indicators.
- Inventory: appliances/fixtures list with serials and powered-on photos.
- Utilities: shutoff locations and move-in meter readings with photos.
Final walkthrough steps
- Test every window and exterior door one more time; confirm all keys/fobs work and are accounted for.
- Verify hot water, HVAC response, and that all plumbing fixtures drain properly.
- Confirm smoke and carbon monoxide alarms test correctly.
- Scan floors and walls after running water to check for new drips or staining.
- Review your photo/video folders for any missing rooms or systems.
- Sign and submit any required move-in condition forms, attaching your dated media.
FAQ
Who should use a move-in inspection checklist?
Tenants can use it to document pre-existing conditions and support deposit protection. Owners can use it to establish a maintenance baseline, prioritize fixes, and record the property’s condition on day one for future comparison.
How long does a thorough walkthrough take?
Plan for one to three hours depending on the size of the home and the number of fixtures and appliances. Build in extra time if you need to run a dishwasher cycle, test laundry, or access areas like attics.
What should I photograph during move-in?
Capture a wide shot of each room, then close-ups of issues such as stains, cracks, scratches, missing parts, or malfunctioning equipment. Include meter readings, appliance serial labels, and images of keys/fobs. Timestamped photos and brief captions make your record more useful.
Do I need a professional inspection as well?
A personal checklist documents condition, while a professional property inspection evaluates systems more deeply and may reveal issues you could miss. Decide based on your goals, property age, and comfort level. For specific legal or financial questions about responsibilities, consult a qualified professional.
What if I discover moisture or a potential safety concern?
Prioritize safety, document the concern clearly, and communicate it promptly in writing to the responsible party. Avoid attempting repairs beyond your expertise. If the issue involves health or safety, seek qualified help without delay.