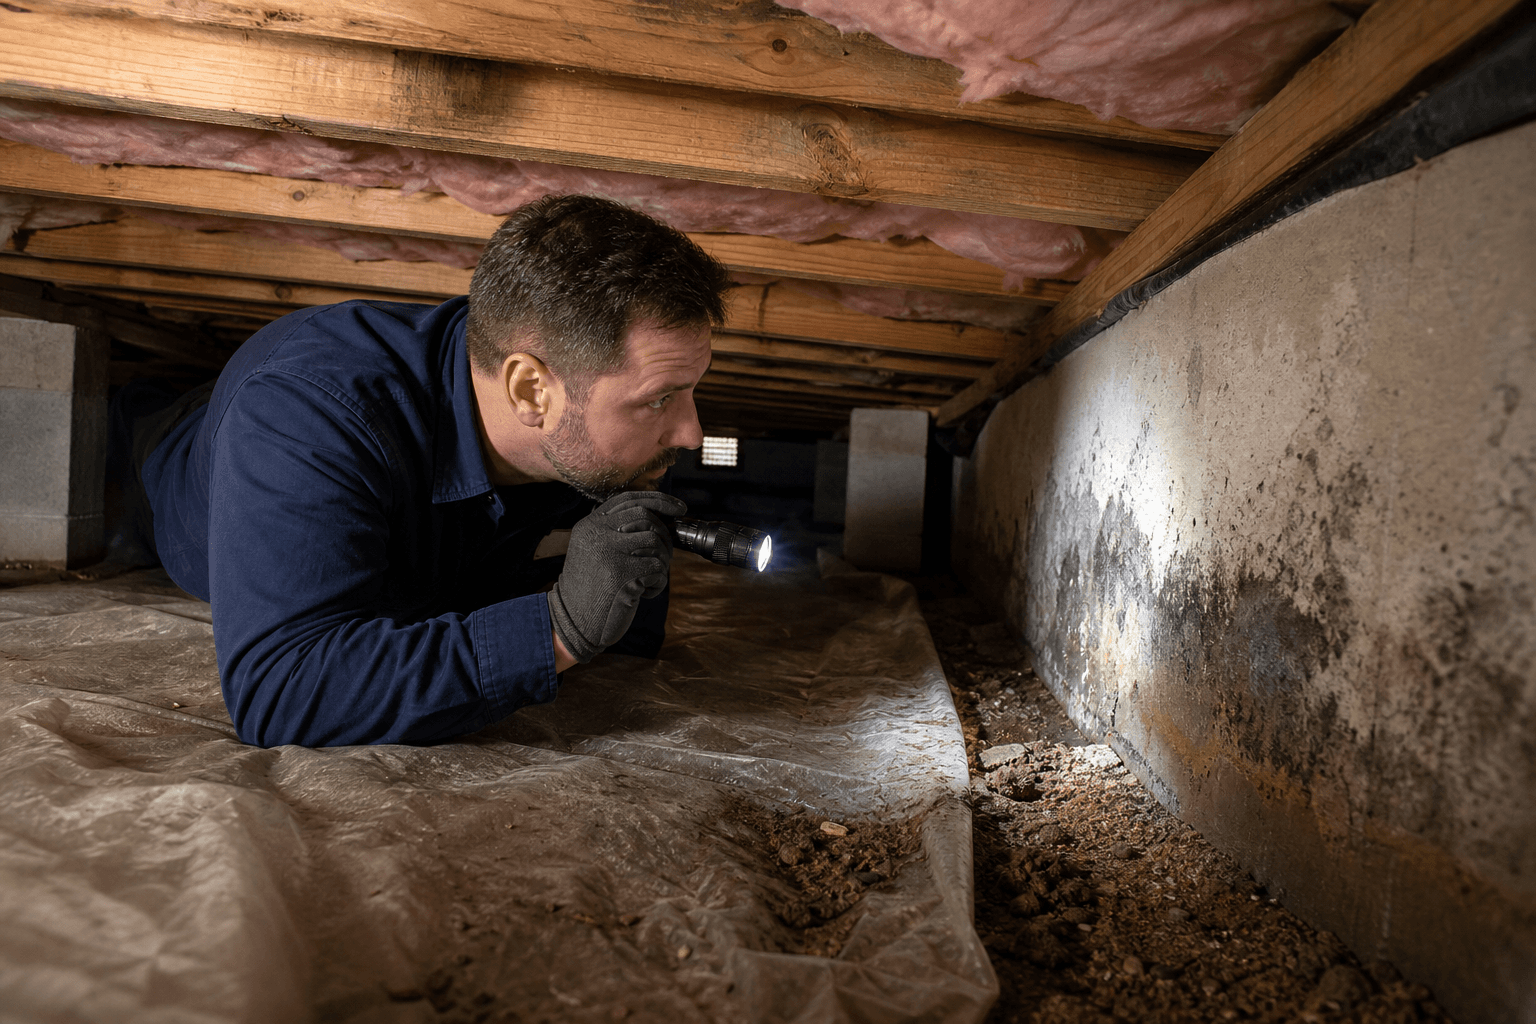
Newly built homes should feel turnkey, but even fresh construction can include items that need correction. A structured approach to finding, documenting, and prioritizing new construction inspection defects helps you secure a smooth handover and long-term peace of mind. This guide explains what typically shows up during inspections, how to evaluate severity, practical ways to verify workmanship, and how to communicate a clear punch list so issues get resolved efficiently.
What counts as a defect in new construction?
A defect is any condition that falls short of reasonable expectations for a new home’s function, safety, or finish quality. These can be obvious (a misaligned door) or subtle (a slow plumbing leak). Because new construction involves many trades and tight schedules, small oversights can slip through. The goal of inspection is not to assign blame; it’s to surface items early so they can be corrected before they become costly or inconvenient.
- Functional defects: things that don’t operate as intended (e.g., windows that won’t latch, outlets with reversed polarity, fans that rattle excessively).
- Safety-related defects: conditions that could present hazards (e.g., loose stair railings, missing anti-tip devices on ranges, garage door sensors mounted too high to detect small objects).
- Durability defects: issues likely to cause premature wear or failure (e.g., inadequate exterior sealant at penetrations, poor drainage away from the foundation).
- Cosmetic/finish defects: visible workmanship issues that affect appearance (e.g., paint holidays, drywall nail pops, scuffed flooring, misaligned cabinet doors).
It helps to think in terms of impact: Will this affect safety, function, weather resistance, or lifespan? If yes, it belongs on your list.
Typical defects by stage of inspection
Depending on your process, you may observe the home at multiple points (framing, pre-drywall, and final). Even if you’re only present at the final walkthrough, knowing what’s commonly missed helps you focus.
Framing and pre-drywall focus
- Structure and layout: notches/holes in framing that look excessive, missing metal connector plates, or improperly supported spans.
- Moisture control details: gaps at window/door flashings, housewrap that’s torn or not lapped shingle-style, missing sealant around exterior penetrations.
- Rough mechanical: ductwork disconnected or kinked, bath fan ducts terminating in attic instead of exterior, plumbing lines lacking support, electrical cables with sharp bends or missing staples.
- Penetrations: unsealed holes where pipes or wiring pass through exterior walls or plates, which can invite pests or water.
Exterior envelope
- Roofing: lifted shingles, exposed fasteners, missing kickout flashing where roof meets walls, and inconsistent shingle courses.
- Gutters and drainage: downspouts terminating too close to the foundation; missing splash blocks; grade sloping toward the house.
- Siding and trim: inconsistent reveals, missing end-grain sealant on trim, open joints, and insufficient clearances above grade or roofing.
- Windows and doors: frames without backer rod/sealant; weep holes blocked; doors that bind or scrape thresholds.
- Decks and porches: loose railings, missing post-to-footing connections, and fasteners incompatible with treated lumber.
Interior finishes and fixtures
- Drywall and paint: nail pops, ridges at tape joints, inconsistent sheen, missed second coats in corners or behind fixtures.
- Flooring: hollow-sounding tiles indicating poor adhesion, LVP/laminate transitions that snag, hardwood cupping or gaps, thresholds not secured.
- Cabinets and counters: racked cabinet boxes, loose pulls, doors not aligned or soft-close hardware unadjusted, caulk joints missing at backsplashes.
- Doors and windows: missing weatherstripping, misaligned strikes, windows that won’t stay open, sliders that don’t track smoothly.
- Stairs and railings: loose newel posts, excessive tread deflection, sharp edges at trim returns.
Mechanical, electrical, and plumbing
- Plumbing: slow drains, P-traps installed backward, loose supply connections at sinks/toilets, water heater venting misaligned, missing drain pans where applicable.
- HVAC: supply/return registers painted shut, inadequate airflow at distant rooms, thermostat placement causing short cycling, disconnected condensate lines.
- Electrical: missing GFCI protection where expected, three-way switches wired inconsistently, loose receptacles, light fixtures that flicker from poor connections.
- Ventilation: bath fans and range hoods not venting outside; laundry exhaust ducts excessively long without proper support.
A room-by-room checklist you can use
Use this non-invasive checklist during your walkthrough to identify items needing attention. Flip switches, open doors, and run water—simple tests surface many issues.
- Entry and main living areas
- Operate every door: verify latch alignment, smooth swing, and even reveals.
- Check windows: locks engage, sashes travel smoothly, no rubbing.
- Test outlets and switches: look for non-functioning circuits or warm faceplates.
- Examine floors: continuous finish, secure transitions, no trip edge at thresholds.
- Kitchen
- Run all appliances through basic cycles; confirm anti-tip bracket on range.
- Inspect under-sink plumbing while water runs; look for drips at valves and P-traps.
- Operate GFCI test/reset; confirm outlets near sink are protected.
- Open every cabinet and drawer; check alignment and secure mounts.
- Check backsplash and counter caulk lines for continuity.
- Bathrooms
- Fill and drain sinks and tubs; confirm tight stoppers and fast drains.
- Flush toilets; watch for rocking or persistent running.
- Turn on bath fans; verify airflow at exterior termination if accessible.
- Inspect shower doors for smooth glide and even seals.
- Bedrooms and closets
- Operate windows for egress where applicable; confirm screens are secure.
- Check closet shelving for level and secure mounting.
- Look for nail pops or cracks at drywall corners.
- Laundry/mechanical areas
- Verify hot/cold orientation, washer drain security, and accessible shutoffs.
- Confirm dryer exhaust duct is metal, secured, and free of sharp bends.
- Check water heater and HVAC: listen for unusual noises; look for labels, clearances, and condensate drains terminating properly.
- Attic and garage (if accessible and safe to enter without special tools)
- Look for even insulation coverage and visible daylight where it shouldn’t be.
- Confirm garage door auto-reverse works with light resistance; test photo eyes.
- Scan for unsealed wall penetrations or gaps to exterior.
- Exterior
- Walk the perimeter after rain if possible; confirm water drains away from the foundation.
- Check caulk and paint at trim and penetrations; look for open joints.
- Ensure downspouts discharge onto splash blocks or extensions.
- Operate exterior outlets and fixtures; check covers and gasket seals.
Prioritizing defects with a clear framework
Not every note on your list carries the same weight. A simple matrix keeps discussions focused and productive.
- Priority A: Safety or active damage
- Examples: loose stair railings, live electrical issues, active leaks, missing exterior weatherproofing at key penetrations.
- Goal: address before occupancy.
- Priority B: Function and protection
- Examples: doors that don’t latch, insufficient drainage away from the home, bath fans not exhausting outdoors.
- Goal: correct before closing or set a firm timeline.
- Priority C: Finish quality and cosmetics
- Examples: paint touch-ups, caulk smoothing, cabinet alignment, drywall blemishes.
- Goal: batch these for efficiency; verify at a scheduled re-walk.
When in doubt, elevate items that could admit water, affect structural integrity, or reduce safe operation of systems.
How to document and communicate defects effectively
A well-organized list increases the likelihood of timely resolution. Strive for clarity, evidence, and trackability.
- Photograph each item with context and a close-up. Include a simple label (“Kitchen sink – supply stop leaking at compression fitting”).
- Group items by location and priority (A/B/C). Keep the wording factual and neutral.
- When a test reveals a symptom, describe the test and result (“GFCI at island failed to trip using built-in test button”).
- Request written acknowledgment of the list with a target date or sequencing (e.g., exterior sealant first, then interior paint).
- Schedule a focused re-inspection or walkthrough to verify closures; bring the original list and mark each item resolved/not resolved.
Simple tests you can safely perform without special tools
While comprehensive inspections draw on specialized methods, many meaningful checks are simple and low risk when performed carefully.
- Water run test: run hot and cold at sinks and tubs for two minutes; check under cabinets for drips and watch for slow drains.
- Window operation: open, close, and lock each unit; ensure weatherstripping is continuous and latches engage.
- Outlet check: plug in a small lamp or device to confirm power at representative outlets in each room.
- Fan and vent check: hold a tissue near bath fan grilles; suction should hold it lightly, indicating airflow.
- Door fit: note uneven gaps, rubbing, or latches that require force; these can indicate hinge/shim adjustments.
- Slope observation: after rain, look for standing water near the foundation or patio/driveway edges.
Only perform checks you can do safely without removing covers or entering confined spaces. If you encounter sparking, strong fuel odors, or active leaks, step away and notify the builder immediately.
Red flags that deserve extra attention
- Water where it shouldn’t be: staining at ceilings or baseboards, dampness around windows, or wet insulation visible in accessible areas.
- Unusual noises or odors: persistent buzzing at electrical panels, burning smells from fixtures, or sewer gas odors at drains.
- Inconsistent temperatures: rooms markedly warmer or cooler with HVAC running, suggesting airflow or duct issues.
- Movement or instability: wobbly railings, bouncy floors at certain spans, or deck posts that shift when pushed.
- Exterior openings: missing sealant or trim gaps at penetrations (hose bibs, vents, conduits), which can allow water and pests.
Building a punch list that gets results
A punch list is a concise, actionable document. Use location headings (e.g., “Primary Bath”), bullet points, and photo references. Keep each line item focused on a single correction.
- Use consistent formatting: location – issue – desired outcome (“Kitchen – GFCI at island does not trip – replace or correct so test/reset functions properly”).
- Attach photos with filenames matching item numbers (e.g., 1_Kitchen_GFCI.jpg).
- Note access needs: if an item requires entry to occupied rooms, coordinate times to reduce repeat trips.
- Capture verification steps: how you’ll confirm completion (e.g., re-test, visual inspection, operation through full cycle).
Plan your re-walk in logical order: exterior first (weather-dependent items), then major systems, then interior finishes. This sequence helps verify that envelope issues are closed before final paint and touch-ups.
Seasonal and latent issues to watch after move-in
Some defects become apparent only after weather changes or daily use. Keep notes during the first weeks so you can report patterns clearly.
- Moisture and drafts: note condensation at windows, drafts at outlets on exterior walls, or dampness after storms.
- Operation over time: doors that begin to rub, recurring circuit trips, or HVAC short cycling on temperature swings.
- Exterior movement: caulk joints opening, nail pops at siding, or settlement cracks that newly appear.
- Appliance behavior: unusual noises, incomplete cycles, or persistent error codes.
Document dates, conditions, and photos. Group observations by system so they’re easy to route to the right trade for evaluation.
FAQ: New construction inspection defects
Are minor cosmetic blemishes worth listing?
Yes—within reason. Cosmetic items often take minutes to correct when addressed early, but they’re harder to schedule later. Group small items by room so they can be completed efficiently in one visit, and keep focus on functional and safety items first.
Should I be present during the inspection or walkthrough?
Being present helps you understand findings in context and confirm operation of systems firsthand. You can also point out any concerns you’ve noticed during earlier visits, ensuring they make the list before final sign-off.
What if defects are found after I move in?
Keep a dated log of issues with photos and clear descriptions. When you report them, group by location and system, and provide any conditions that trigger the problem (for example, heavy rain, long shower, or HVAC setpoint change). Clear documentation makes troubleshooting faster.
How many items are “normal” on a new-home punch list?
Punch lists vary widely. A better lens is priority: address safety, function, and water management first, then batch cosmetic items. The number of lines matters less than ensuring the critical ones are resolved and verified.
What tools should I bring to a final walkthrough?
Consider a phone with camera and flashlight, painter’s tape for marking small finish touch-ups, a small plug-in nightlight or phone charger to test outlets, paper towels for checking under-sink drips, and a notepad or checklist app. Keep testing simple and safe.