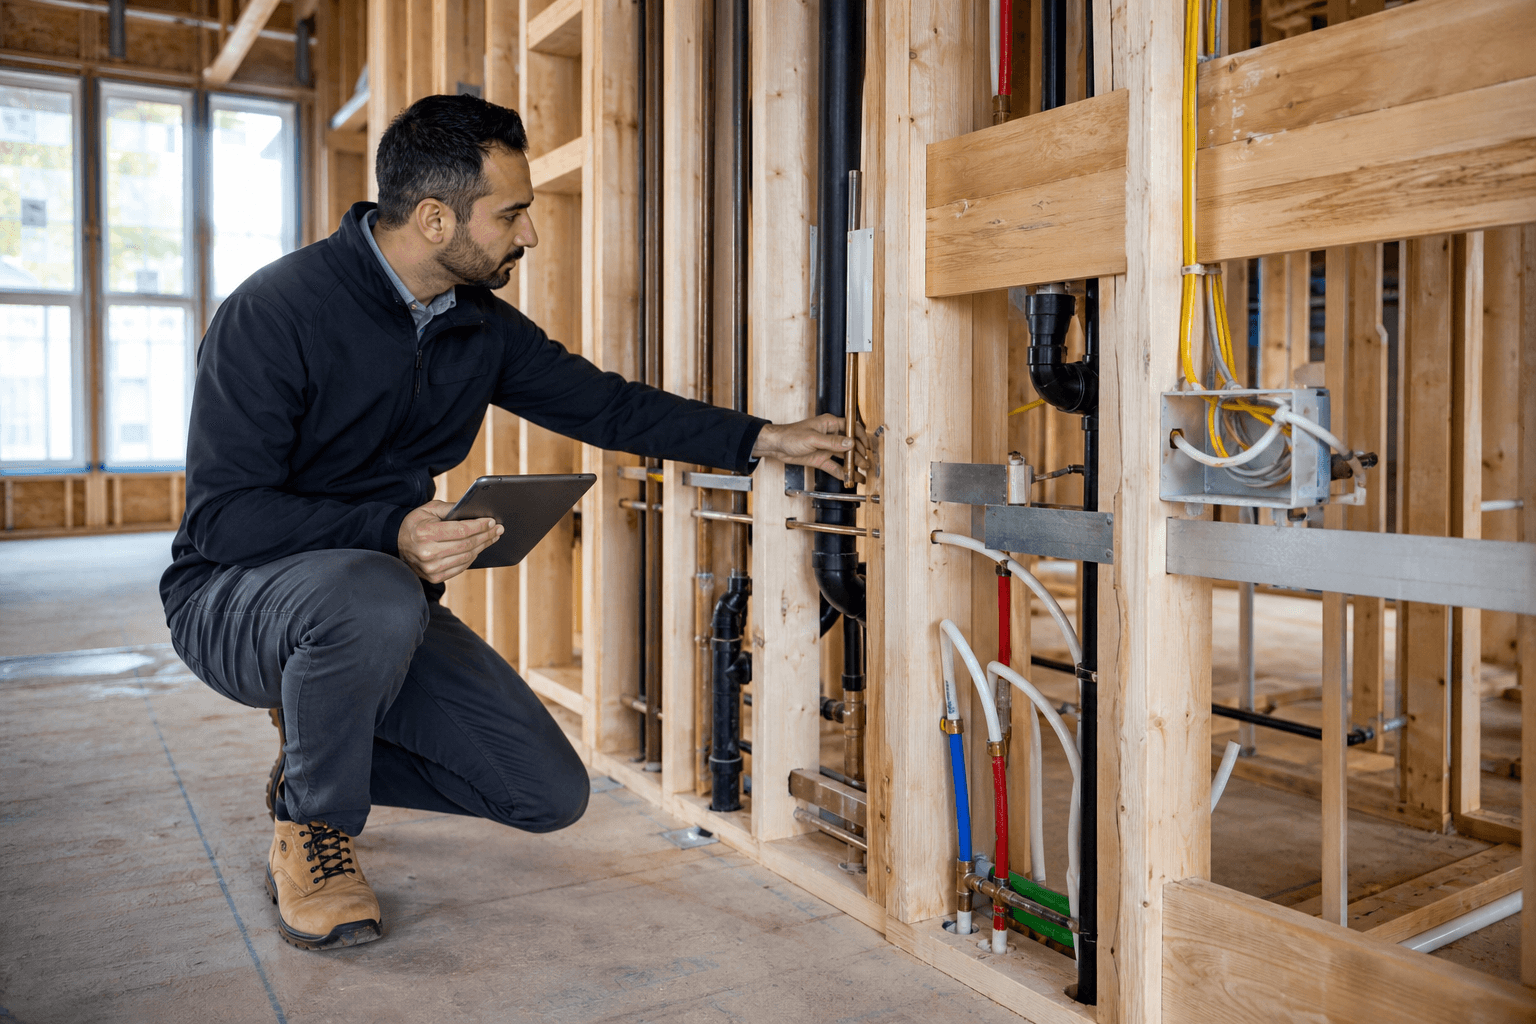
A newly built home can still have visible workmanship issues, incomplete finishes, moisture concerns, or system problems. The right timing for a new construction inspection in Toronto depends on the construction stage and the decision you need to make next.
Most buyers are choosing between a pre-drywall inspection, a final or pre-delivery inspection, and a later inspection after occupancy. Each checkpoint reveals different conditions. An independent inspection is a visual review of accessible components, not a replacement for municipal inspections, the builder’s process, warranty procedures, or specialist assessments.
Quick summary

- Book pre-drywall while framing, rough plumbing, electrical work, insulation, and penetrations remain visible.
- Use a final or pre-delivery inspection to review completed accessible systems, finishes, fixtures, drainage observations, and moisture concerns.
- Consider a near-month-11 inspection for conditions that appear during normal occupancy. Confirm applicable dates with the builder or warranty administrator.
- Keep rooms, panels, attic access, fixtures, and mechanical equipment accessible, and provide relevant builder documents.
- Turn findings into a neutral punch list with the location, description, photograph, priority, follow-up party, and status.
Choose the inspection stage that matches your build
You can choose one checkpoint or combine several. The right choice depends on whether you want to see work before it is concealed, assess the completed home, or document conditions that emerge after living in the property.
| Stage | Purpose | What may be visible | Follow-up |
|---|---|---|---|
| Pre-drywall | Review accessible work before walls are closed | Framing, rough services, insulation, penetrations, and transitions | Confirm safe access before drywall installation |
| Final or pre-delivery | Assess the completed accessible home | Finishes, fixtures, doors, windows, systems, and visible moisture concerns | Coordinate access with the builder’s walkthrough |
| Near month 11 | Document conditions after normal use | Newly apparent defects, maintenance concerns, and performance symptoms | Confirm the relevant process and dates |
ASM’s new construction inspection guidance covers pre-drywall, final, and near-month-11 checkpoints. Its service also includes same-day PDF reporting, helping buyers review observations promptly.
1. Pre-drywall inspection: review work before it is concealed

A pre-drywall inspection takes place while important construction elements remain visible. It may provide an opportunity to review accessible framing, rough plumbing, electrical work, insulation, openings, penetrations, and visible transitions between components.
This stage is most useful when visibility is the priority. Once walls and ceilings are closed, a standard visual inspection generally cannot verify concealed conditions without destructive investigation. Ask the builder when the property will be ready and whether any areas are restricted.
Document locations and observations rather than assumptions about what is behind a finished surface. A visible gap, unsupported component, exposed opening, or apparent moisture concern should be described factually and referred to the builder or an appropriate specialist.
2. Final or pre-delivery inspection: assess the completed home
The final inspection reviews the home as presented before possession. Depending on access and scope, it may include visible structure and foundation areas, roofing and exterior components, attic observations, plumbing fixtures, electrical panels and receptacles, heating and cooling equipment, insulation where visible, interior finishes, doors, windows, stairs, and railings.
Look for incomplete work, damaged finishes, poor seals, drainage observations, fixture problems, and conditions that could allow moisture to enter or remain. Moisture intrusion deserves prompt attention because it can contribute to structural damage and occupant safety concerns. An inspector can document visible signs, while a qualified trade or specialist may need to determine the source or repair.
Keep an independent inspection separate from the builder’s pre-delivery walkthrough. The builder walkthrough explains features and records items within the builder’s process. An independent inspection provides another visual review and structured report. Neither is a code-compliance approval or engineering assessment.
When organizing observations, review this resource on new construction inspection defects for guidance on factual descriptions, photographs, priorities, and follow-up.
3. Near-month-11 inspection: document conditions after occupancy
A later inspection reviews the home after normal occupancy and operation. Some concerns become easier to notice after systems have been used, seasonal conditions have changed, or finishes have had time to settle.
This checkpoint can document visible defects, maintenance concerns, and symptoms that were not apparent during the final walkthrough. It does not guarantee that a builder or warranty administrator will accept a finding, and it does not determine legal or warranty rights. Confirm submission dates and procedures directly with the relevant parties.
Review timing early rather than waiting until the last possible day. The explanation of an 11-month warranty inspection provides further context on how this checkpoint fits alongside pre-drywall and final inspections.
What a Toronto new construction inspection can review
A residential inspection is organized around accessible systems and components. Depending on the stage, property condition, and agreed scope, the review may cover:
- Structure and foundation: visible framing, foundation areas, floors, walls, and ceilings.
- Roof and attic: accessible roofing, attic conditions, insulation, ventilation observations, and moisture signs.
- Exterior and moisture management: cladding, windows, doors, grading or drainage observations, gutters, downspouts, decks, porches, and visible seals.
- Plumbing: accessible supply and drainage components, fixtures, water heater observations, leaks, and functional symptoms.
- Electrical: the panel, accessible lights, receptacles, switches, and visible safety-related conditions.
- Heating and cooling: accessible furnace, air-conditioning, and related components.
- Interior components: floors, walls, ceilings, cabinets, stairs, railings, doors, windows, and visible workmanship concerns.
This scope does not automatically include destructive testing, concealed-condition investigation, sewer-camera work, thermal imaging, engineering analysis, or diagnosis of every specialist issue. If a condition requires opening a wall, interpreting a design, repairing equipment, or confirming code requirements, involve the appropriate professional.
Prioritize moisture, workmanship, and system-performance concerns
Group findings by risk and action instead of treating every cosmetic imperfection as equally urgent. Visible water entry, an active leak, an unsafe electrical symptom, a missing guard, or a non-functioning essential system may need faster attention than a minor finish issue.
Use neutral language. Write “water staining visible below the rear bedroom window” rather than “the window was installed incorrectly” unless a qualified person has established the cause. Likewise, record what happened during an observation without presenting it as a complete diagnosis.
Where new work meets an existing structure or renovation, pay close attention to visible transitions in roofing, framing, exterior finishes, plumbing, and electrical work. The inspection can document what is visible, while the builder or specialist determines the remedy.
Prepare for the inspection and walkthrough
- Confirm whether the property is ready for pre-drywall, final, or post-occupancy review.
- Ask which areas are restricted and whether a site representative must be present.
- Provide access to rooms, attic openings, the electrical panel, mechanical equipment, plumbing fixtures, garage, basement, and exterior areas where safe.
- Remove stored items or construction materials that block accessible components where possible.
- Have builder documents, options lists, appliance information, renovation details, and prior issue lists available.
- Ask how findings should be submitted and who should receive them.
- Record the inspection date and construction stage for later comparison.
Do not enter restricted, unfinished, elevated, or hazardous areas to improve access. Tell the inspector what could not be reached so the report distinguishes uninspected areas from reviewed components.
Turn findings into a usable builder punch list
For each observation, record the room or exterior location, a factual description, a photograph, the apparent priority, and the person or organization responsible for review. For example, “second-floor hall bathroom, hot-water supply connection visibly dripping during fixture use” is more useful than “bathroom plumbing is defective.”
Add the report page or photograph reference, the date sent to the builder, and a status such as open, scheduled, repaired, or awaiting specialist review. Keep the original observation even after the builder responds, then record the response separately.
Use the same-day PDF report responsibly
A same-day PDF inspection report gives buyers a clear record while construction conversations are still active. Share relevant pages with the builder, warranty administrator, real estate professional, or qualified specialist, and keep the complete report with your property records.
Use the report as evidence of visible observations within the agreed scope. It does not replace municipal inspections, builder procedures, warranty documentation, or a trade professional’s repair assessment. It also cannot confirm conditions hidden behind finished surfaces.
Know when another professional is needed
Contact the builder or warranty administrator for construction follow-up and documentation procedures. Ask an electrician about electrical conditions requiring diagnosis or repair, a plumber about persistent leaks or drainage problems, and an HVAC professional about equipment performance requiring service.
An engineer or other qualified specialist may be appropriate for structural design, unusual movement, load capacity, or concerns beyond visual inspection. The inspector documents accessible observations and explains their significance within scope, rather than providing legal, warranty, trade, or engineering determinations.
Frequently asked questions
Is a pre-delivery inspection the same as an independent new construction inspection?
No. A pre-delivery inspection is part of the builder’s handover process, while an independent inspection is a separate visual review for the buyer. They can complement each other, but neither guarantees correction.
Should I book both a pre-drywall and final inspection?
They serve different purposes. Pre-drywall provides visibility before concealment, while the final inspection reviews the completed accessible home. If both stages are available, combining them creates a broader record. If only one is possible, base the choice on what is currently accessible and what may soon be concealed.
Can an inspector assess areas behind drywall?
Only visible and accessible conditions can normally be reviewed in a standard visual inspection. Concealed components may require destructive access or specialized investigation. Ask the builder or a qualified specialist about hidden-condition concerns.
What should I send when requesting an inspection in Toronto?
Provide the property address, home type, construction stage, preferred timing, builder or site contact details, and access restrictions. Specify whether you want pre-drywall, final or pre-delivery, near-month-11, or combined inspections.
Conclusion: match the inspection to the construction stage
Use pre-drywall when visibility before concealment is the priority. Use final or pre-delivery to assess the accessible completed home, and consider near month 11 for concerns that emerge during normal occupancy. At every stage, keep the inspection’s visual limits clear and organize observations into a factual follow-up list.
For a Toronto or GTA appointment, provide the property address, property type, construction stage, and preferred timing when contacting Asmhomeinspection. ASM provides certified residential inspections across the GTA with same-day PDF reporting.