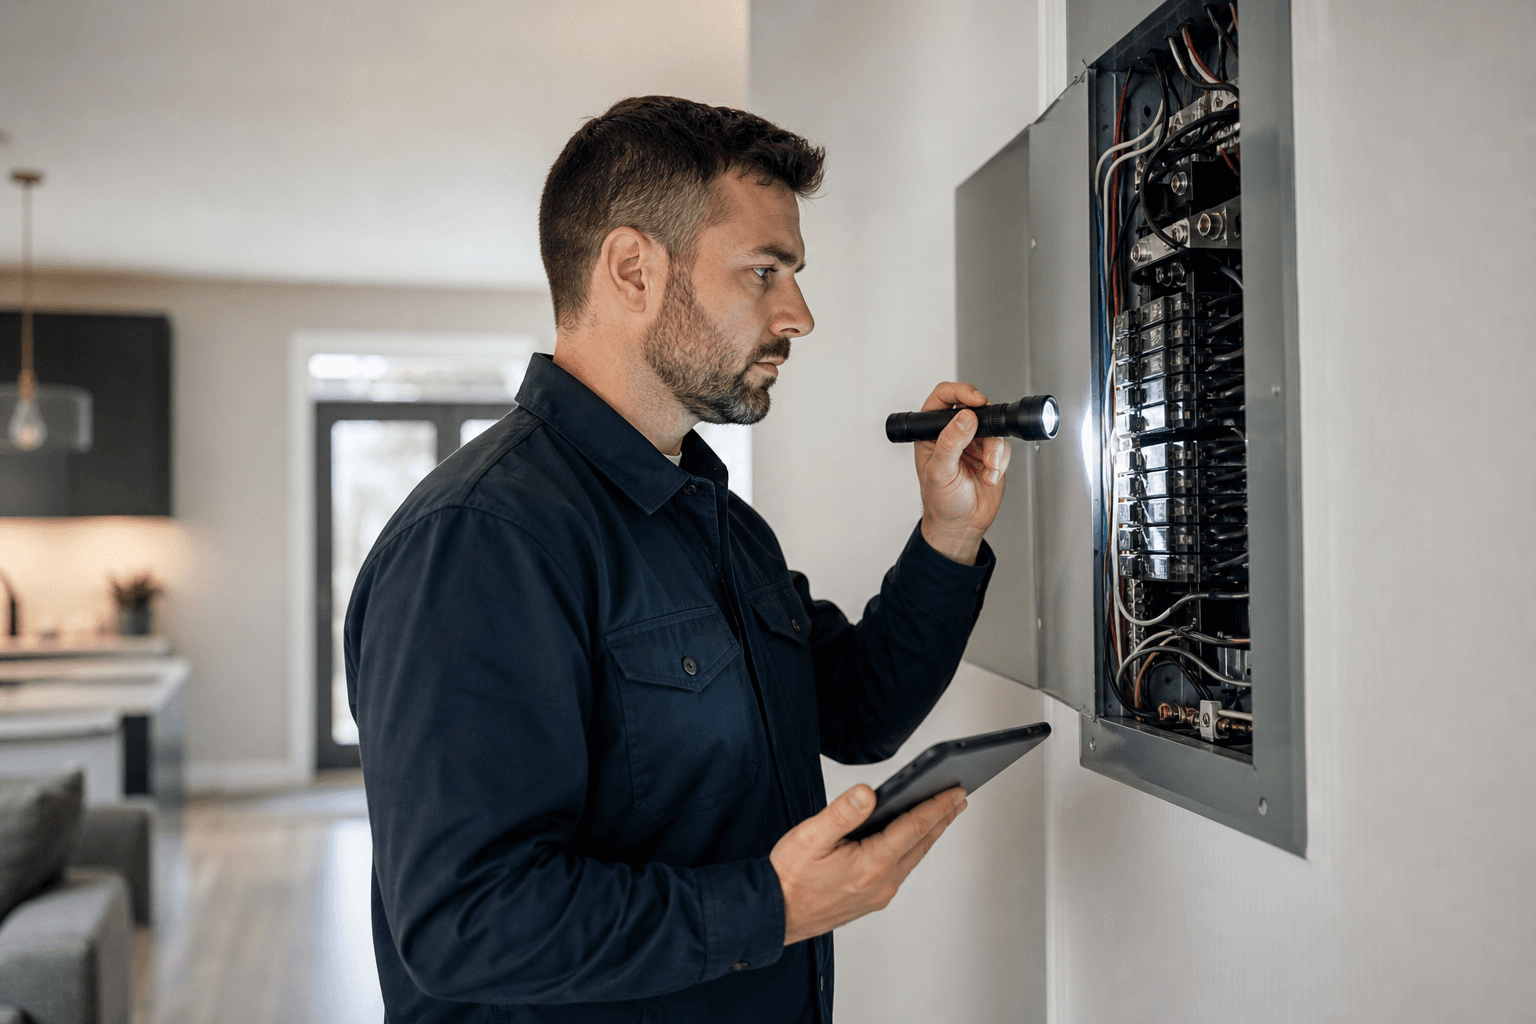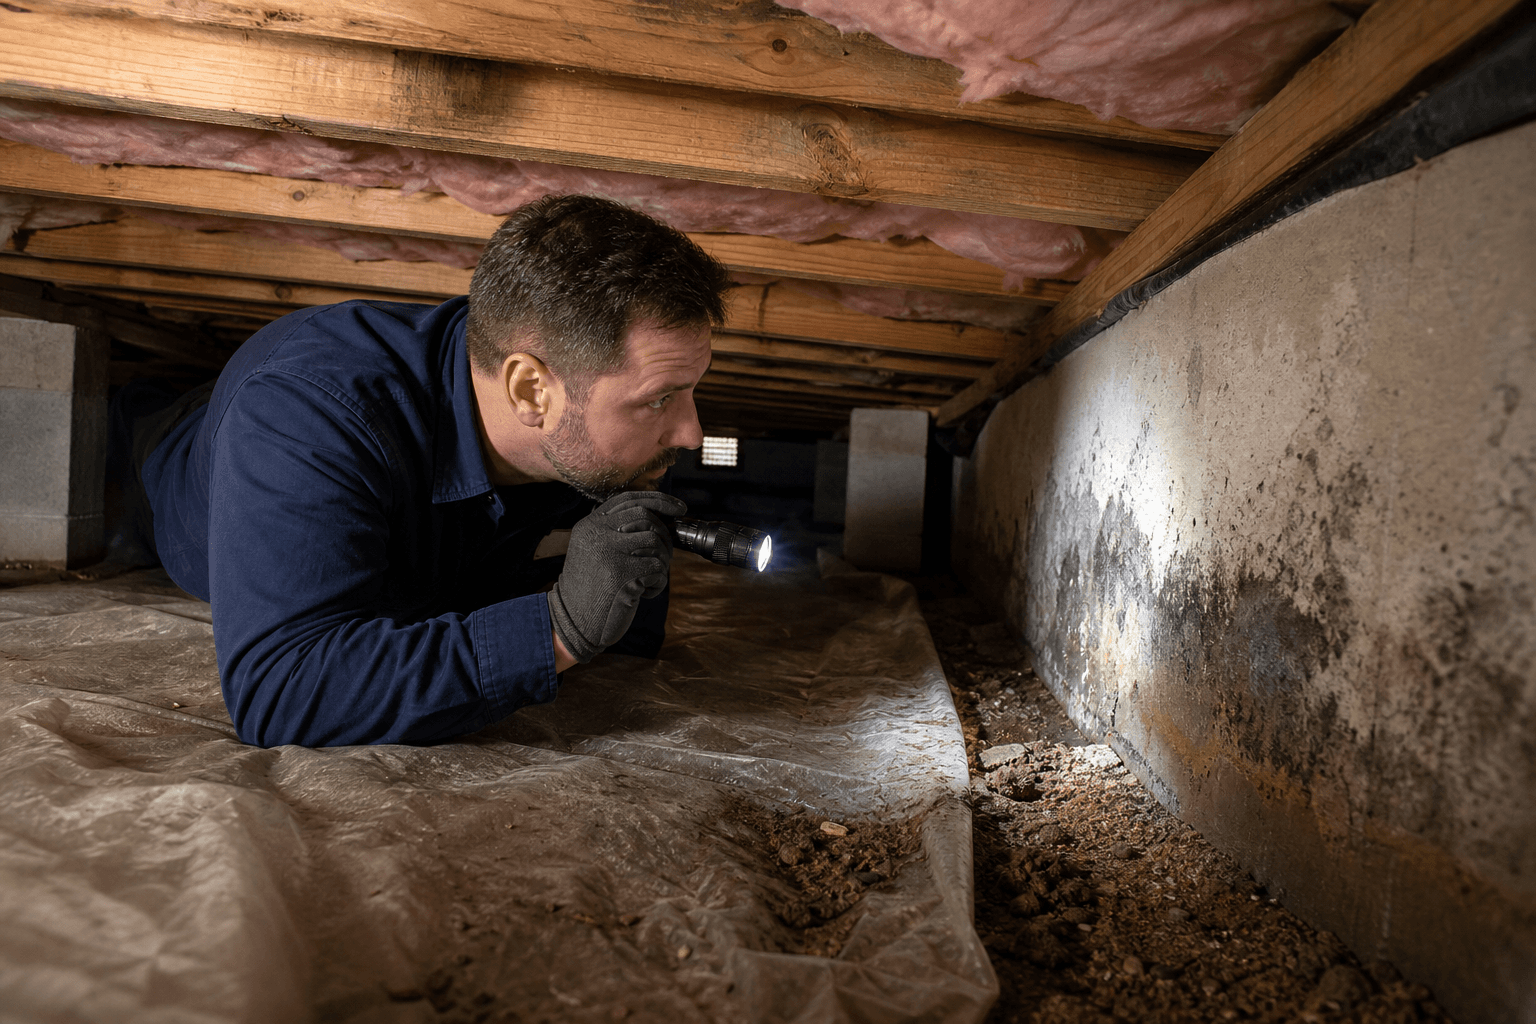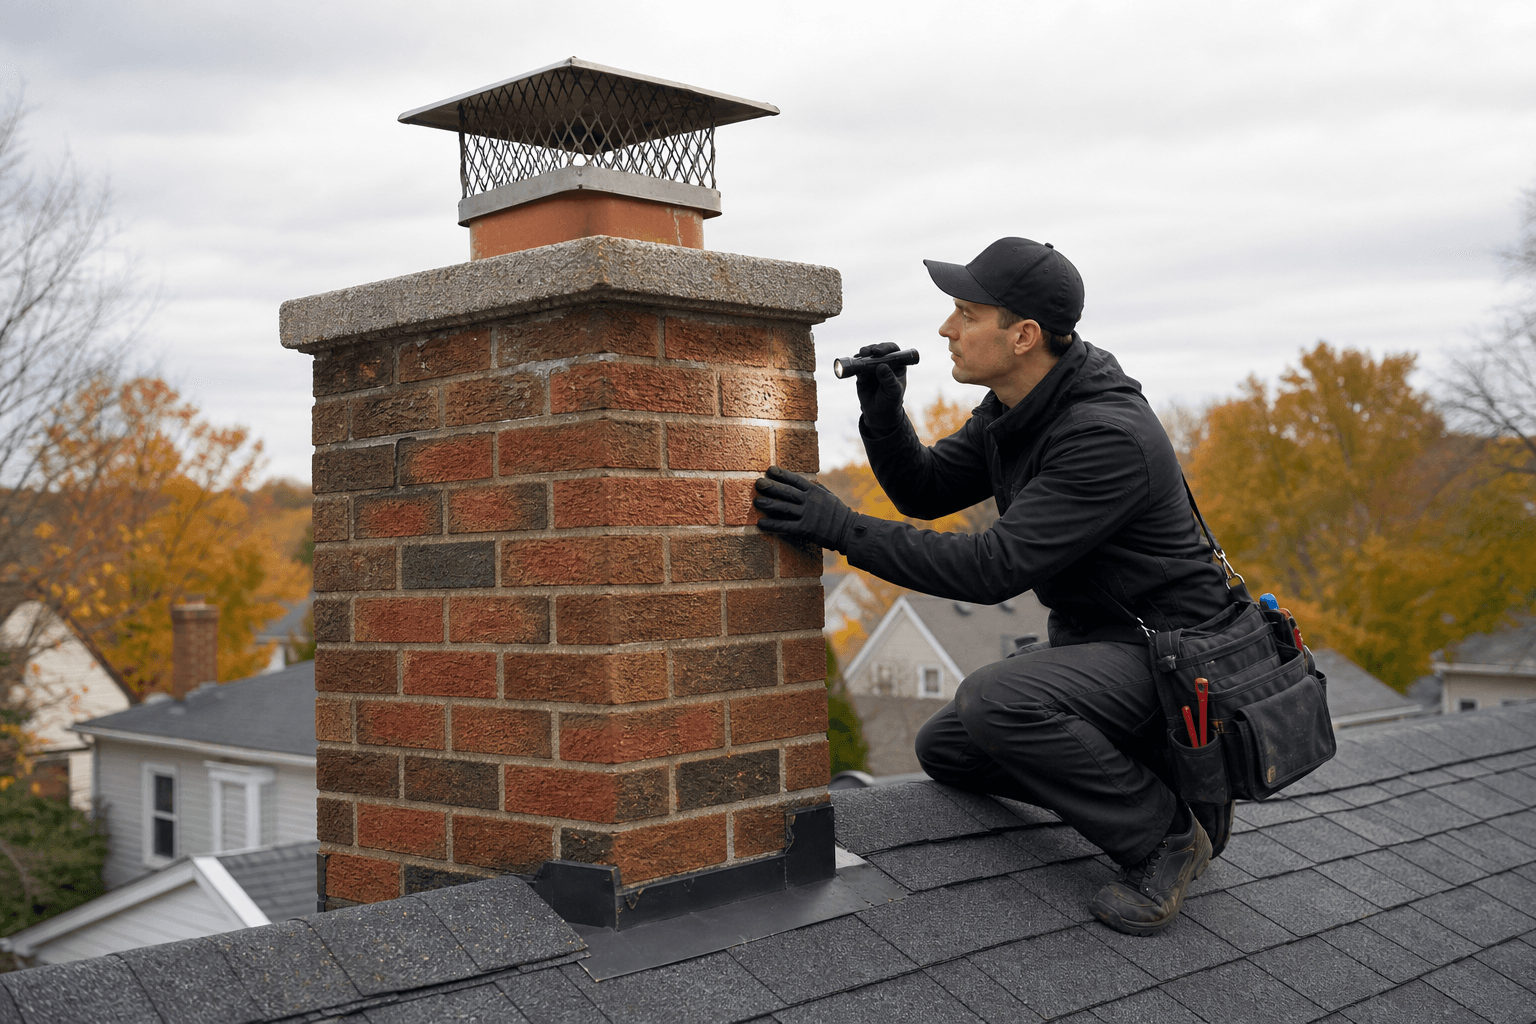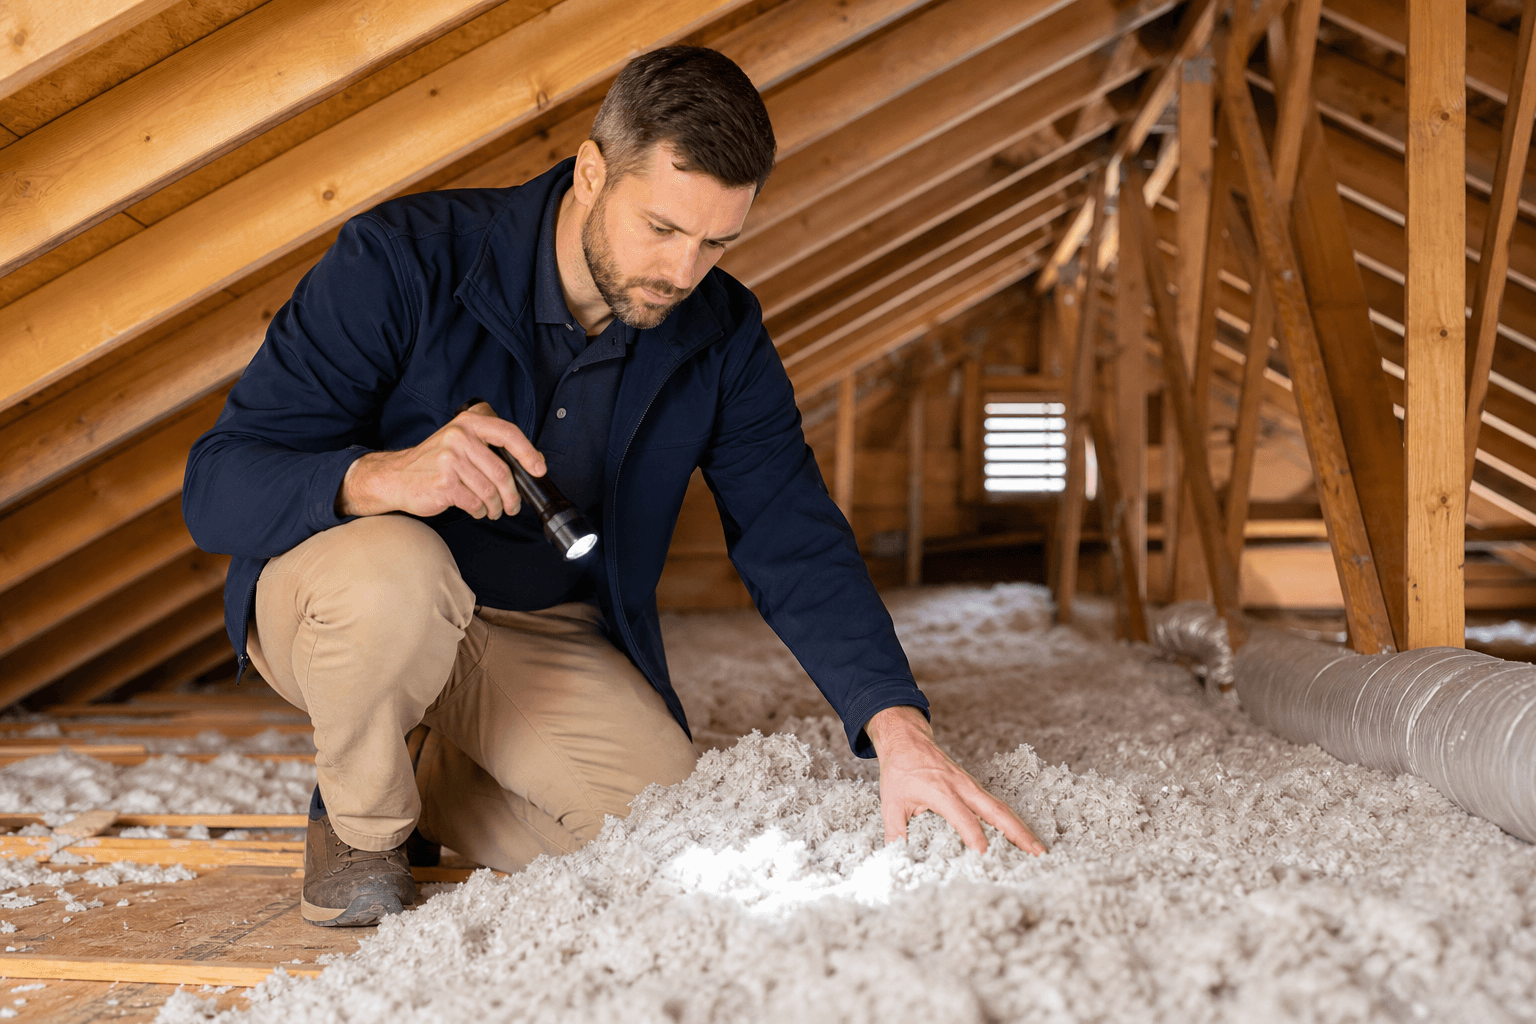
How to use this checklist
This short decision checklist helps Greater Toronto Area homebuyers, sellers, landlords and real estate professionals decide whether to book an insulation inspection now, what specific signs and measurements to ask an inspector for, and which next steps to take if problems appear. Each numbered check below follows the same pattern: what to look for on site, why it matters for energy, safety or code compliance, and exactly what to ask the inspector or contractor next. If the checklist raises concerns you can schedule a certified inspection from a provider that offers photo evidence and same-day reports for tight transaction timelines.
The 7 essential checks

1. Verify R-value and insulation type
What to look for: identify the insulation material, such as fibreglass batt, blown cellulose, mineral wool or spray foam, and any printed labels on batt facings, bags or visible product tags. Note whether labels or marking indicate an R-value and whether the installed material corresponds to the assembly: attic, wall, basement or crawl space.
Why it matters: correct R-value is the primary control for energy performance and occupant comfort. Under-insulating or using the wrong product reduces expected energy savings and can fail permit or building-code expectations. Clear documentation of installed type and labelled R-values helps contractors confirm compliance and prevents rework.
What to ask the inspector: request photographed labels or batt markings, a note of the assembly target R-value, and a clear statement if installed material appears not to meet that target. Municipal inspection guidance describes common code-related insulation items and useful checklist practices for Ontario inspections (Ontario insulation inspection checklist).
2. Look for gaps, voids and compressed insulation
What to look for: visual gaps at wall-to-ceiling junctions, daylight showing through the attic, voids around plumbing stacks, interruptions at knee walls and rim joists, and compression under storage or flooring. Inspect along top plates and behind soffits where installers commonly miss coverage.
Why it matters: even local voids or compression can reduce effective thermal resistance by a noticeable amount, creating cold spots, condensation risks and higher heating bills. Proper coverage is especially important in older Toronto-area homes and in retrofit work where framing details vary.
What to ask the inspector: request marked photos that show each void or compressed area, a location map (attic bay or room), and a prioritized repair list. Ask whether simple measures like adding or re-fluffing insulation will correct the problem or whether further access or specialist work is needed. Construction quality checklists emphasise coverage and compression as routine inspection items (insulation inspection checklist).
3. Inspect vapour and air-barrier continuity
What to look for: determine whether vapour-control layers and air barriers are continuous and correctly located for Ontario conditions. Look for torn polyethylene, unsealed seams, missing taped joints around penetrations, and vapour barriers that are misplaced on the cold side of an assembly.
Why it matters: a continuous air barrier prevents warm, moist indoor air from reaching cold surfaces inside assemblies where it can condense, saturate insulation and cause mould or rot. Vapour barrier mistakes and poor sealing are common causes of recurring moisture problems and occupant discomfort.
What to ask the inspector: ask for photographed examples of barrier laps, taped seams and penetrations, and a statement about whether the current installation is likely to trap moisture. If continuity is in doubt, request a review by an envelope specialist or building scientist before insulating or before closing a transaction. Municipal inspection guidance highlights barrier continuity as a frequent code-related item (Ontario insulation inspection checklist).
4. Check for moisture, staining and mould indicators
What to look for: visible stains or dark streaks on insulation or sheathing, clumped or damp batt material, visible mould growth, active water trails on framing, and persistent musty odours. Note nearby plumbing fixtures, roof penetrations and chimneys that suggest likely moisture sources.
Why it matters: moisture inside insulation reduces R-value, accelerates material decay and creates health concerns. Early detection prevents structural damage and costly remediation. When moisture is present, the insulation finding is often a symptom that requires a roofer, plumber or mould remediation specialist to resolve the root cause.
What to ask the inspector: request moisture meter readings in suspect areas, clear photographic documentation, and a short recommendation list stating whether a trades inspection is necessary and which trades to call first. Do not conceal insulation until the moisture source is fixed. Inspection guides emphasise identifying root causes before repair (inspection guide, construction QA checklist).
5. Confirm pre-covering installation and permit-related items
What to look for: on new builds or renovations inspect open assemblies before drywall or sheathing is installed. Confirm R-values, required clearances at chimneys and recessed lighting, correct fastenings, and that required fire or thermal barriers are installed and accessible for municipal review.
Why it matters: many municipalities require a pre-cover inspection as part of permit workflows. Skipping pre-cover verification can create permit delays and add rework. A documented pre-cover checklist reduces risk by catching code-related deficiencies while the assembly is accessible.
What to ask the inspector: ask the inspector to document compliance items explicitly and to note any conditions that should be corrected before covering. If you are mid-renovation request a signed pre-cover checklist entry or a written confirmation you can show to the municipal inspector. Ontario municipal guidance outlines pre-cover items that reduce permit problems (inspection guide).
6. Use measurements or thermal imaging when questions remain
What to look for: if you see inconsistent attic temperatures, suspect voids behind finished walls, or need stronger evidence for negotiations, request instrumented testing. Common tests include infrared thermal scans, blower-door-assisted diagnostics and targeted temperature spot checks in problem areas.
Why it matters: thermal imaging and blower door tests expose hidden voids, air leakage paths and insulation gaps that a visual inspection cannot confirm behind finished surfaces. These tests provide quantifiable evidence useful for bargaining, warranty claims or contractor scopes.
What to ask the inspector: request a labelled thermal image set and a brief interpretation of what each anomaly likely represents. Clarify that thermal imaging is a diagnostic tool, not a full energy audit, and that invasive probing or a professional energy audit may be necessary to develop definitive remediation plans. Quality-control templates recommend upgrading to infrared and instrumented checks when visual findings are inconclusive (insulation inspection checklist).
7. Review the inspector's deliverables, credentials and local coverage
What to look for: an inspection that includes dated, geolocated photos, clear notes about R-values or instrumented results when used, a prioritised repairs list, and a readable final report you can use for negotiations or permits. Same-day PDF delivery is valuable when transaction timelines are tight.
Why it matters: documented evidence simplifies negotiation, speeds approvals and reduces disputes about who must pay for fixes. Local coverage and relevant credentials build confidence that the inspector understands Ontario practices for vapour control, fire clearances and pre-cover requirements.
What to ask the inspector: confirm professional credentials and membership, request a same-day PDF or electronic report, and ask whether the inspector has experience with both residential and commercial envelope issues in the GTA. For example, ASM Home & Commercial Inspection highlights InterNACHI and CCPIA certification, same-day PDF reports, and GTA coverage on its service pages, which are useful signals when comparing local options (ASM Home & Commercial Inspection).
One-page printable summary

- 1. R-value and type: verify labels and report installed R-value.
- 2. Gaps and compression: photograph voids and priority repairs.
- 3. Vapour and air barriers: photograph seams and penetrations.
- 4. Moisture signs: obtain moisture meter readings and trades referrals.
- 5. Pre-cover checks: confirm compliance before concealing assemblies.
- 6. Instrumentation: request infrared or blower-door tests if needed.
- 7. Deliverables and credentials: require photos, clear recommendations, same-day PDF and relevant certifications.
Tip: print this page and bring it to showings or pre-construction walk-throughs so you and the inspector can tick items off on site.
Frequently asked questions
What can an insulation inspection reliably detect and what are its limits
A good visual inspection reliably identifies material type, labelled R-values, coverage gaps, compression, visible moisture and obvious vapour barrier defects. Its limits are hidden voids behind finished walls and airtightness issues that require instruments to confirm. When you need proof of hidden voids or airtightness, escalate to thermal imaging or blower-door testing.
When should I ask for thermal imaging or a blower-door test instead of just a visual inspection
Request instrumented testing when you see inconsistent temperatures during a walk-through, suspect insulation voids behind finished surfaces, find multiple moisture stains without a clear source, or need quantifiable evidence for negotiations. Thermal imaging and blower-door tests provide stronger, documented evidence than a visual check alone.
What documentation should I keep from an inspection to support price negotiations or permit applications
Keep dated photos with location notes, any moisture meter or thermal images, a clear list of prioritised repairs, and the inspector's written statement about code-related items or pre-cover findings. These items are commonly accepted by municipal reviewers and trades when verifying work or permitting corrections.
How much does an insulation inspection usually cost in the GTA and how quickly will I get the report
Pricing varies by property size and scope. Some GTA inspection providers publish starting prices and promotional discounts on their service pages, and many offer same-day PDF delivery for time-sensitive transactions. Ask for a written quote and confirm report turnaround when you book.
Which certifications or report features should I expect from a qualified inspector in the Greater Toronto Area
Expect membership or certification from recognised inspection organisations, photo-documented findings, clear recommendations, and a timely electronic report. Inspectors who list both residential and commercial credentials and who operate across GTA municipalities are often better prepared to handle permit or mixed-use property questions. For local reference, see a service page that outlines certifications and report timing (ASM Home & Commercial Inspection).
If this checklist flags problems you can schedule a certified inspection that documents R-values, barrier continuity, moisture measurements and repair priorities. For local inspection services and same-day PDF reporting across the GTA visit Asmhomeinspection.