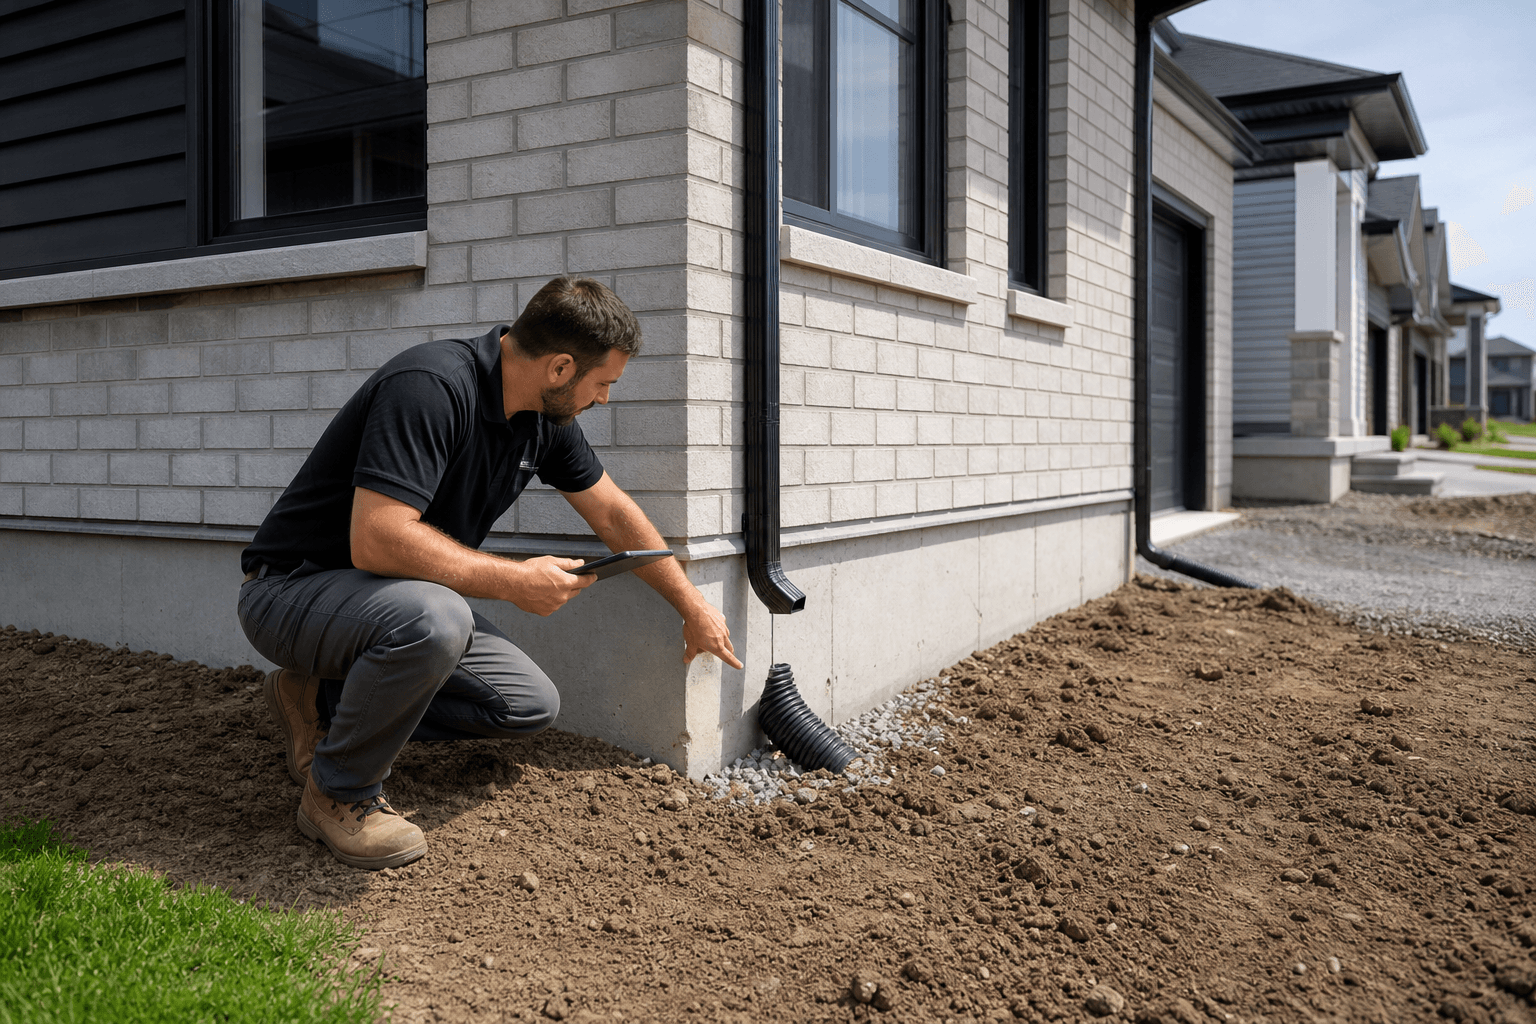
A new-build defect is a construction, workmanship, installation, finish, or performance problem that does not meet the agreed design, expected function, applicable requirements, or reasonable quality standard. Before handover, record each concern with its exact location, photographs, measurements, urgency, and requested remedy. Separate cosmetic snags from functional, safety, moisture, and potentially structural issues. Related reading: New Home Inspector: Spot Problems Early in 2026.
A builder’s Pre-Delivery Inspection (PDI) is part of the handover process. An independent inspection provides a separate assessment of accessible conditions and a structured record of observations. Neither guarantees that concealed defects, code compliance, warranty decisions, or future performance will be confirmed. Related reading: Pre-Purchase Home Inspection Checklist for Toronto Buyers: 7 Areas to Review.
This guide shows GTA buyers how to triage new-build defects, create a builder-ready punch list, and verify repairs before closing or during warranty follow-up.
How to Decide Whether a Finding Is a Defect
A new-build defect is more than an imperfection you dislike. It is an observable condition affecting workmanship, function, safety, water management, durability, or the expected completion of the home. The agreement, drawings, specifications, manufacturer instructions, applicable requirements, and warranty documents help determine whether a finding should be treated as a defect. Related reading: New home warranty inspection.
Cosmetic or finish defects
These include paint runs, plaster marks, damaged flooring, chipped tile, uneven grout, failed caulking, scratched cabinetry, and poorly finished trim. They may not prevent the home from operating, but record them if the surface is incomplete, damaged, or inconsistent with the agreed finish.
Functional or workmanship defects
A functional defect prevents an installed item from working as intended. Examples include a binding door, a window that will not latch, a bathroom fan that does not operate, a leaking fixture, a thermostat that does not control the system, or a cabinet that will not close correctly.
Safety defects
Safety concerns include loose railings, missing guards, exposed wiring, non-functioning protective devices, unsafe stairs, damaged glass, or equipment that operates abnormally. Do not dismantle electrical equipment or enter an unsafe roof space. Record what is visible and arrange appropriate follow-up.
Moisture and potentially structural defects
Active leaks, water staining, damp materials, poor drainage, foundation water entry, significant or recurring cracks, movement, and unusual floor or wall deflection deserve prompt attention. Describe the evidence without diagnosing the cause. “Dark staining below the rear window after rain” is more useful than “failed building envelope.”
Triage New-Build Findings by Risk and Urgency
Raise active water, electrical hazards, unsafe movement, and suspected structural concerns promptly. Document functional failures and workmanship issues clearly, then group minor finish items into an organized punch list. The priority is not the apparent size of the defect. It is the likely consequence, whether the problem is active, and whether later access will become harder.
| Finding | Safe check | Evidence | Priority and next step |
|---|---|---|---|
| Paint runs, plaster marks, chipped tile, or failed sealant | View in normal lighting from several angles. | Location, context and close photographs, approximate size. | Usually cosmetic. Add to the punch list. |
| Door or window sticks or will not latch | Operate it once without forcing or adjusting it. | Opening location, symptom, photographs, whether it repeats. | Functional. Report and retest after repair. |
| Fixture leaks, drains poorly, or does not operate | Use normal controls briefly if safe. Look around it without removing panels. | Fixture, time, water location, photographs, active or inactive status. | Active water is urgent. Stop use if continued operation may cause damage. |
| Exposed wiring, damaged receptacle, heat, buzzing, or burning odour | Do not open panels, remove covers, or touch components. | Exact location and photograph from a safe position. | Safety priority. Notify the builder or electrical professional promptly. |
| Active leak, damp material, water stain, or musty area | Observe without opening finishes or entering an unsafe space. | Location, date, weather or fixture-use context, photographs. | Moisture priority. Investigate the source, not only the stain. |
| Drainage toward the foundation or downspout beside the home | Observe visible water flow during or after rain. Do not excavate. | Wide photograph, discharge location, standing water, date. | Raise early because repeated water exposure affects lower-level conditions. |
| Significant, diagonal, widening, or recurring crack | Observe and measure without filling or disturbing it. | Location, width if measurable, length, dated photographs, related movement. | Request prompt assessment, especially if the crack changes or has moisture. |
For each item, ask three questions: is it active, can it cause damage or injury, and will later construction or occupancy hide the evidence? An active leak or exposed electrical component should not wait for a cosmetic punch-list review. A small finish mark can usually be grouped with other low-risk items, provided it is recorded before the condition changes.
Do not copy tolerance figures from another country and treat them as Ontario rules. Whether a gap, crack, slope, or surface deviation is acceptable depends on the contract documents, specifications, manufacturer instructions, current requirements, and construction context. Record the condition first, then ask which standard governs it.
Use a Focused Inspection Workflow
A useful workflow is less about producing the longest list and more about preserving evidence before the condition changes. Start with a whole-property orientation, then follow any active water, movement, access, or safety clue to its connected areas.
1. Establish the record before testing
Photograph the building from each accessible side and note the date, weather, occupancy status, and unfinished or inaccessible areas. Mark the location of each concern on a floor plan or room list. This gives later close-out photographs a reliable comparison point.
2. Follow connected conditions
Trace a moisture clue from roof edge, cladding, flashing, window or door perimeter, grading, and downspout to the lower-level area it may affect. For movement, compare the crack with nearby doors, windows, floors, and finishes. Record relationships without claiming that one observation proves the cause.
3. Test ordinary operation without disturbing components
Operate accessible doors, windows, fixtures, switches, fans, thermostats, and controls normally. Note what fails, what repeats, and what works only with unusual force. Do not open electrical panels, remove covers, excavate, dismantle finishes, or enter an unsafe roof space.
4. Finish with a reconciliation pass
Compare your entries with the PDI record, drawings, specifications, finish schedules, product information, and builder correspondence. Remove duplicates, separate combined issues, assign priorities, and identify which items need a specialist or independent inspection.
For a detailed explanation of inspection phases and timing, read the guide to new construction inspection.
Exterior, Moisture, and Drainage: Find the Paths Water Takes
Trace water from the highest visible point to the lowest affected area. Check roof edges, flashing, cladding transitions, window and door perimeters, grading, downspouts, foundation walls, basement finishes, and nearby plumbing fixtures as connected parts of one investigation.
Look for stains below openings, damp or swollen materials, failed sealant, ponding, soil sloping toward the building, downspouts ending beside the foundation, and water marks on basement walls or floors. A dry surface on inspection day does not prove that concealed moisture is absent.
For example, a hypothetical buyer might photograph a downspout discharging beside the rear foundation, record the date after rainfall, and note a faint basement stain on the same side. This does not prove causation, but it gives the builder or specialist a clear location and reason to investigate.
Do not seal a stain, paint over dampness, redirect a downspout permanently, or remove finished materials before documenting the condition.
Create a Builder-Ready Defect Record
A useful record lets another person find the item, understand what happened, judge urgency, and verify the repair later. Use one entry per distinct issue.
- Item number: Use an identifier such as K-03 or EXT-07.
- Exact location: Name the room, wall, elevation, fixture, opening, level, or exterior side.
- Description: State what you saw or what failed without guessing at the cause.
- Date and conditions: Record weather, recent rainfall, or fixture use where relevant.
- Photographs: Take context and close photographs. Include a scale when size matters.
- Measurement: Record dimensions or other observations only when safe and consistent.
- Effect: State whether the item affects operation, water control, safety, finish, comfort, or access.
- Urgency and likely trade: Use these for routing, not final diagnosis.
- Requested remedy: Ask for investigation, adjustment, replacement, sealing, or correction.
- Status: Track notification, response, action, completion date, photographs, and whether the item remains open.
Sample punch-list wording
Hypothetical door: “Item B-04. Second-floor bedroom, north wall. The door binds against the upper latch side and does not close without pressure. The issue was observed on September 29, 2026, during normal operation. Context and close photographs attached. Please investigate the alignment and confirm normal latching after adjustment. Status: open.”
Hypothetical plumbing item: “Item P-02. Main-floor powder-room vanity. Moisture was observed below the right-hand supply connection after the tap was operated briefly. Photograph attached with location marked. Please investigate the source and document the completed repair. Status: urgent review requested.”
Build and Manage the Punch List Before Handover

Begin with one master copy, remove duplicate entries, preserve original photographs, and sort items into safety, active water, functional, movement-related, and cosmetic groups. Compare the list with the purchase agreement, drawings, finish schedules, product information, builder correspondence, PDI record, and warranty instructions.
Do not assume that a builder form or verbal conversation resolves every later question. Keep dated records and written responses with the property file. If an item cannot be repaired before possession, record its condition, proposed next step, and the documents controlling follow-up.
When an Independent New Construction Inspection Adds Value
Self-documentation is useful for visible finish items, but an independent inspection adds value when you want a system-by-system review, a second set of eyes, or a photo-rich report before handover or warranty follow-up. It is especially helpful when access is limited, moisture clues are visible, several trades are involved, or you are unsure how to prioritize findings.
ASM provides certified residential inspections and same-day, photo-rich PDF reports across Toronto and the GTA.
An inspection documents accessible observations at a particular time. It does not guarantee concealed conditions, prove every requirement has been met, provide an engineering opinion, certify electrical or plumbing work, decide warranty entitlement, or resolve a contract dispute.
Use a specialist when the question requires engineering analysis, destructive investigation, laboratory testing, electrical certification, plumbing repair, environmental testing, or formal legal interpretation.
Verify Repairs Instead of Marking Items “Fixed”

A repair is not complete merely because a surface looks better. Close each item by comparing the finished work with the original record and checking whether the underlying symptom has stopped.
- Match the item: Confirm the same location and condition shown in the original photographs.
- Inspect adjacent areas: Look for damage, staining, disturbed sealant, or new gaps.
- Retest the function: Operate the affected item normally when safe.
- Check for recurrence: Compare dated observations after relevant weather or use.
- Photograph the result: Take new context and close photographs.
- Record close-out: Note the repair date, trade or person identified, method described, and verification result.
- Reopen unresolved items: Keep the original item open if the symptom remains, returns, or changes.
Arrange prompt follow-up for an active leak, electrical hazard, unsafe movement, or suspected structural issue. If a repair conceals the area without addressing the source, request clarification and consider an independent or specialist assessment.
Inspection Limits and Questions You Still Need to Resolve
A visual inspection cannot see through finished walls, confirm every concealed connection, measure every system’s performance, or replace builder documents and warranty procedures. List inaccessible areas, locked rooms, covered components, weather-dependent symptoms, and intermittent failures as limitations.
- Which areas and systems will be accessible and included?
- Which items require safe access or specialist testing?
- Will photographs, measurements, limitations, and unresolved concerns appear in the report?
- Which document or specification controls the disputed finish or installation?
- How should the issue be submitted, and where should proof of submission be kept?
- What evidence is needed to verify a repair or request a reinspection?
Frequently Asked Questions About New-Build Defects
What is classed as a defect in a new build?
A defect is a condition that does not meet the agreed design, specified finish, expected function, applicable requirement, or reasonable workmanship standard. Examples include leaking fixtures, windows that will not latch, damaged finishes, incomplete sealant, unsafe movement, active water entry, and significant or recurring cracks.
What are the four types of construction defects?
For practical inspection purposes, group findings as cosmetic or finish, functional or workmanship, safety, and potentially structural. Moisture is a separate priority because it can affect several categories.
When should I arrange an independent new-build inspection?
Arrange one when you want documented accessible findings before handover, when the property has complex or unfinished areas, when moisture or movement concerns are visible, or when you want a review beyond the builder’s PDI.
What upgrades should I skip on a new build?
Compare optional upgrades by cost, specification, maintenance, performance, warranty terms, and future access. Prioritize water management, safe installation, durable materials, and correction of defects before cosmetic upgrades.
Who is responsible for fixing a defect?
Responsibility depends on the purchase agreement, work performed, builder documents, and applicable warranty or dispute process. Report the condition through the required channel and preserve your evidence.
What evidence should I keep if a builder disputes or delays a repair?
Keep original and follow-up photographs, dates, measurements, locations, inspection reports, PDI records, drawings, specifications, correspondence, submission confirmations, promised repair dates, and post-repair photographs.
Choose the Next Step Before Your Deadline
Start with one dated defect register, raise active water and safety concerns promptly, compare disputed items with relevant documents, and keep unresolved findings open until the underlying condition has been checked. If you need an independent record of accessible conditions in a new GTA home, contact Asmhomeinspection about a new construction inspection with GTA coverage and same-day PDF reporting.